Power Automate
Talk to an agent or upload a file from your Power Automate workflows
💻 Setup in Power Automate (admin only)
Install the Dust custom connector in your Power Automate environment.
📋 Prerequisites
Before installing the Dust Assistant Solution, ensure you have:
- Power Platform Access: get the Power Automate Premium license
- Environment Permissions: Environment Maker role or higher
- Go to admin.powerplatform.microsoft.com
- Select Environments → Your environment
- Verify you have Environment Maker or System Administrator role
- Dust Account: Active Dust workspace with API access
- API Credentials: Create a Dust API key from your workspace settings
-
Log into Dust
- Go to dust.tt
- Navigate to your workspace
-
Generate API Key
- Go to Admin → API Keys
- Click "Create API Key"
- Copy the generated key
- Store securely - you won't see it again
-
🔧 Installation Guide
Step 1: Download the Connector
Download the latest version: DustAssistantSolution.zip
Step 2: Import the Solution
-
Navigate to Power Automate
- Go to make.powerautomate.com
- Select your target environment (top-right dropdown)
-
Import Solution
- Click "Solutions" in the left navigation
- Click "Import solution"
- Click "Browse" and select the downloaded
.zipfile - Click "Next"
-
Review Import Settings
- Review the solution details
- Click "Import"
- Wait for import completion (2-5 minutes)
Step 3: Test connection
-
Open the Custom Connector
- Go to "Solutions" → "Dust Assistant Solution"
- Click on the Custom Connector you want to test
-
Test connection
- Click "Edit" (pencil icon)
- Go to "Test" tab
- Create a new connection: Enter your Dust API Key in the authentication field ( ⚠️You must add "Bearer " before your API token)
- Test with a sample body (select the connector you want to test below and copy the corresponding sample body)
{
  "message": {
    "context": {
      "timezone": "Europe/Paris",
      "username": "xxx"
    },
    "content": "hello",
    "mentions": [
      {
        "configurationId": "gpt-5"
      }
    ]
  },
  "blocking": true
}
{
"text": "This is my doc content",
"title": "Doc title",
"tags": ["tag1", "tag2"]
}- Wait for the response: the HTTP status should be 200.
Step 4: Share the connector
- Go to "Solutions" → "Dust Assistant Solution"
- Click on the Custom Connector you want to share
- Go to the "Share" tab
- You can now decide either to share the connector with your whole organization, or select specific users to share with.
🔄 Updates and Maintenance
Updating the Connector
- Download the latest version
- Import the new solution (it will update the existing one)
- Test your existing flows/apps
🔑 Usage
Add a Dust connector to your flows.
📋 Prerequisites
- Power Platform Access: get the Power Automate Premium license. Ask your admin to grant you a licence.
- Dust Account: Active Dust workspace with API access
- API Credentials: Create a Dust API key from your workspace settings
-
Log into Dust*
- Go to dust.tt
- Navigate to your workspace
-
Generate API Key
- Go to Admin → API Keys
- Click "Create API Key"
- Copy the generated key
- Store securely - you won't see it again
-
🔧 User guide
Step 1: Use the Dust connector in your flow
- In Power Automate, create a new flow or use an existing one
- Add a new action
- Search for "Dust" in the search bar (you can click on the "Custom" filter to see only custom connectors)
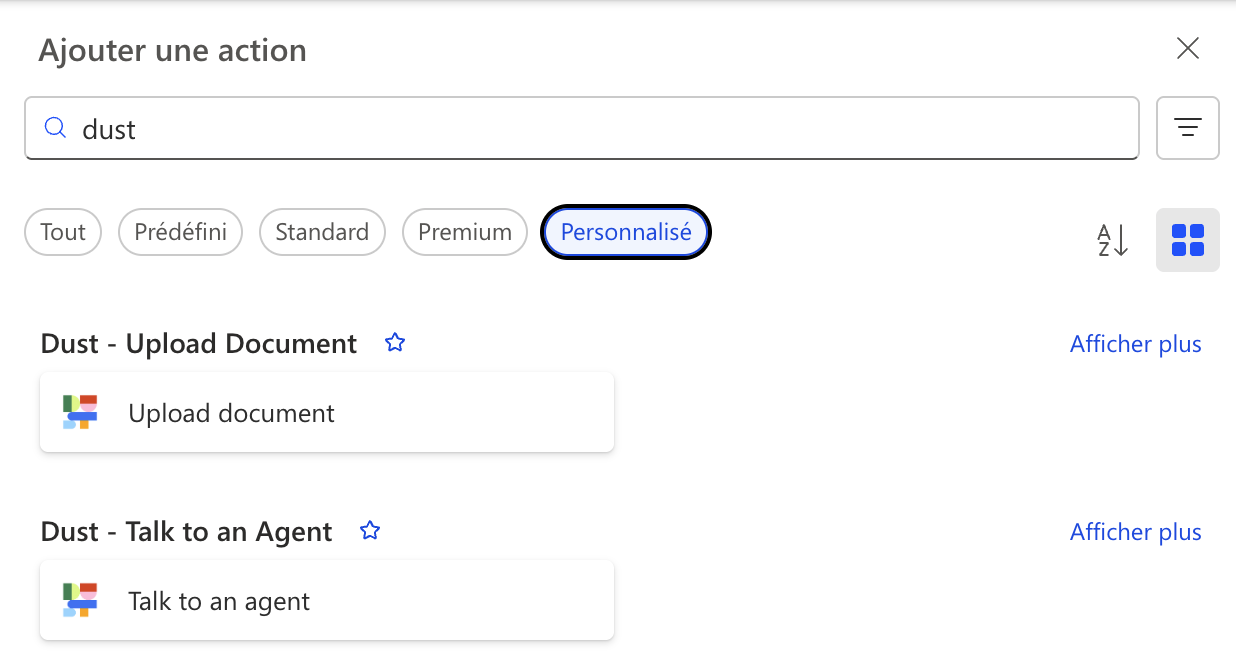
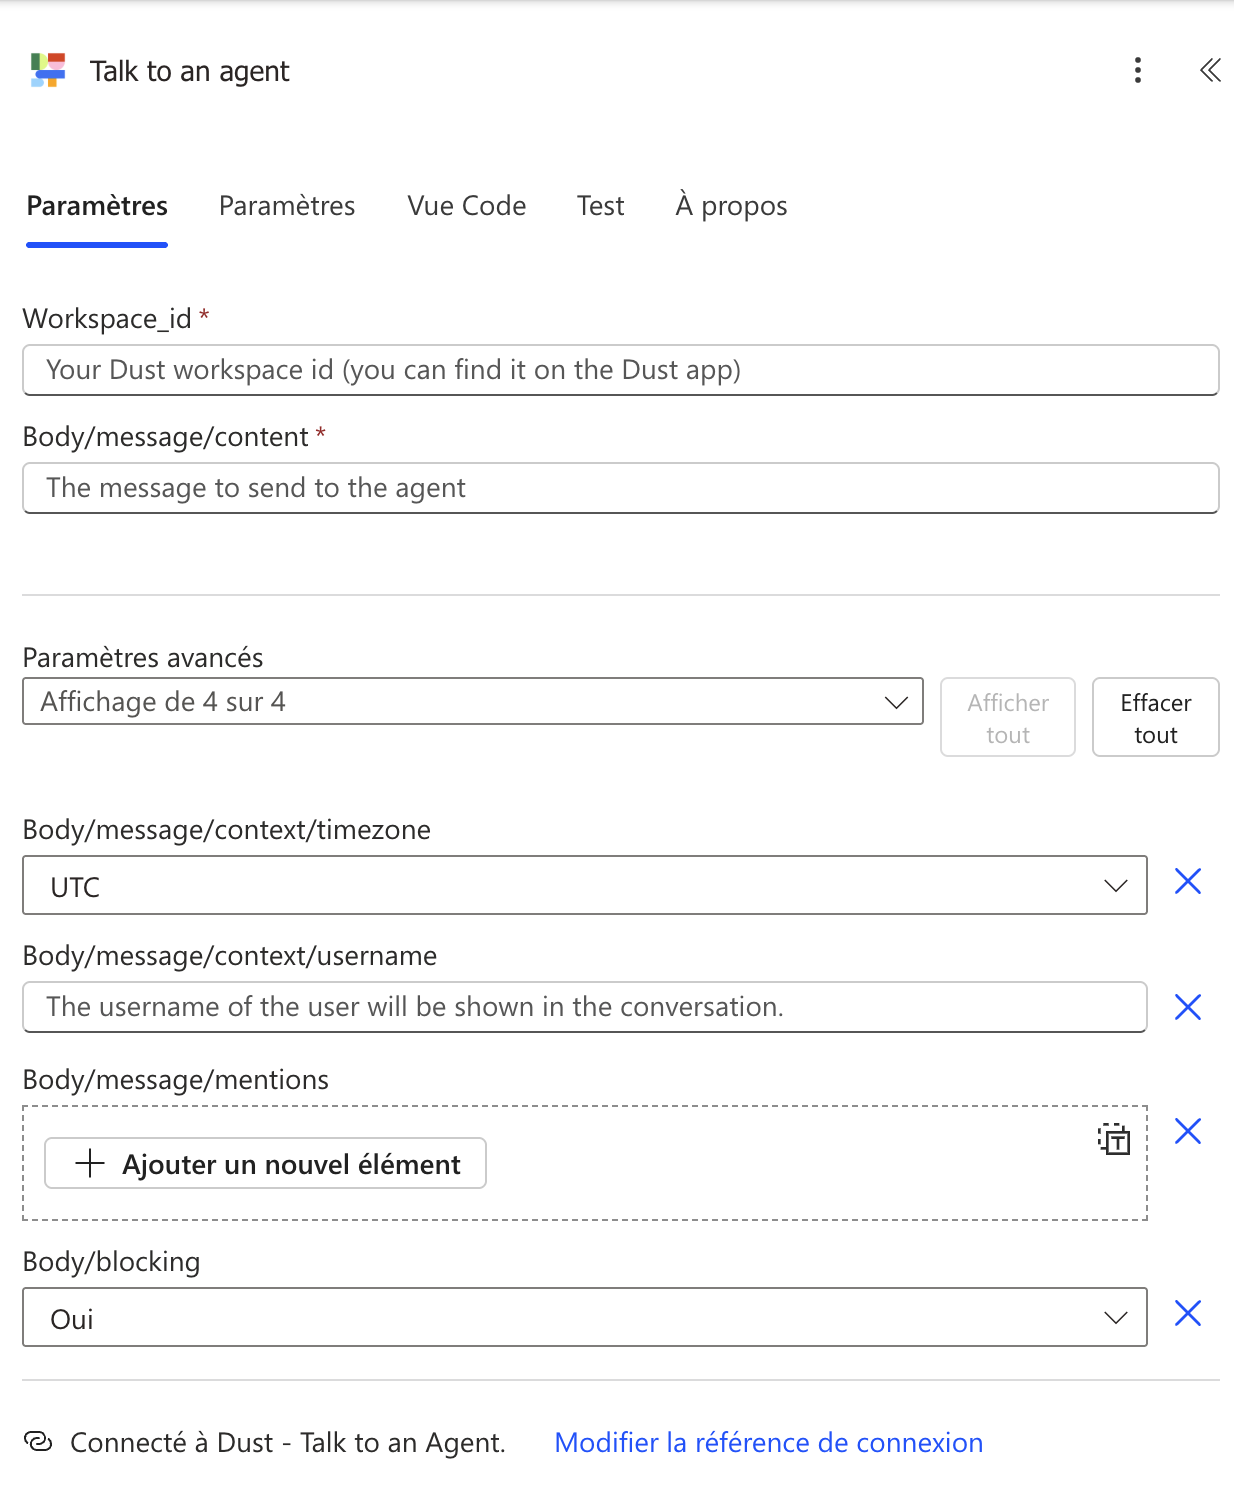
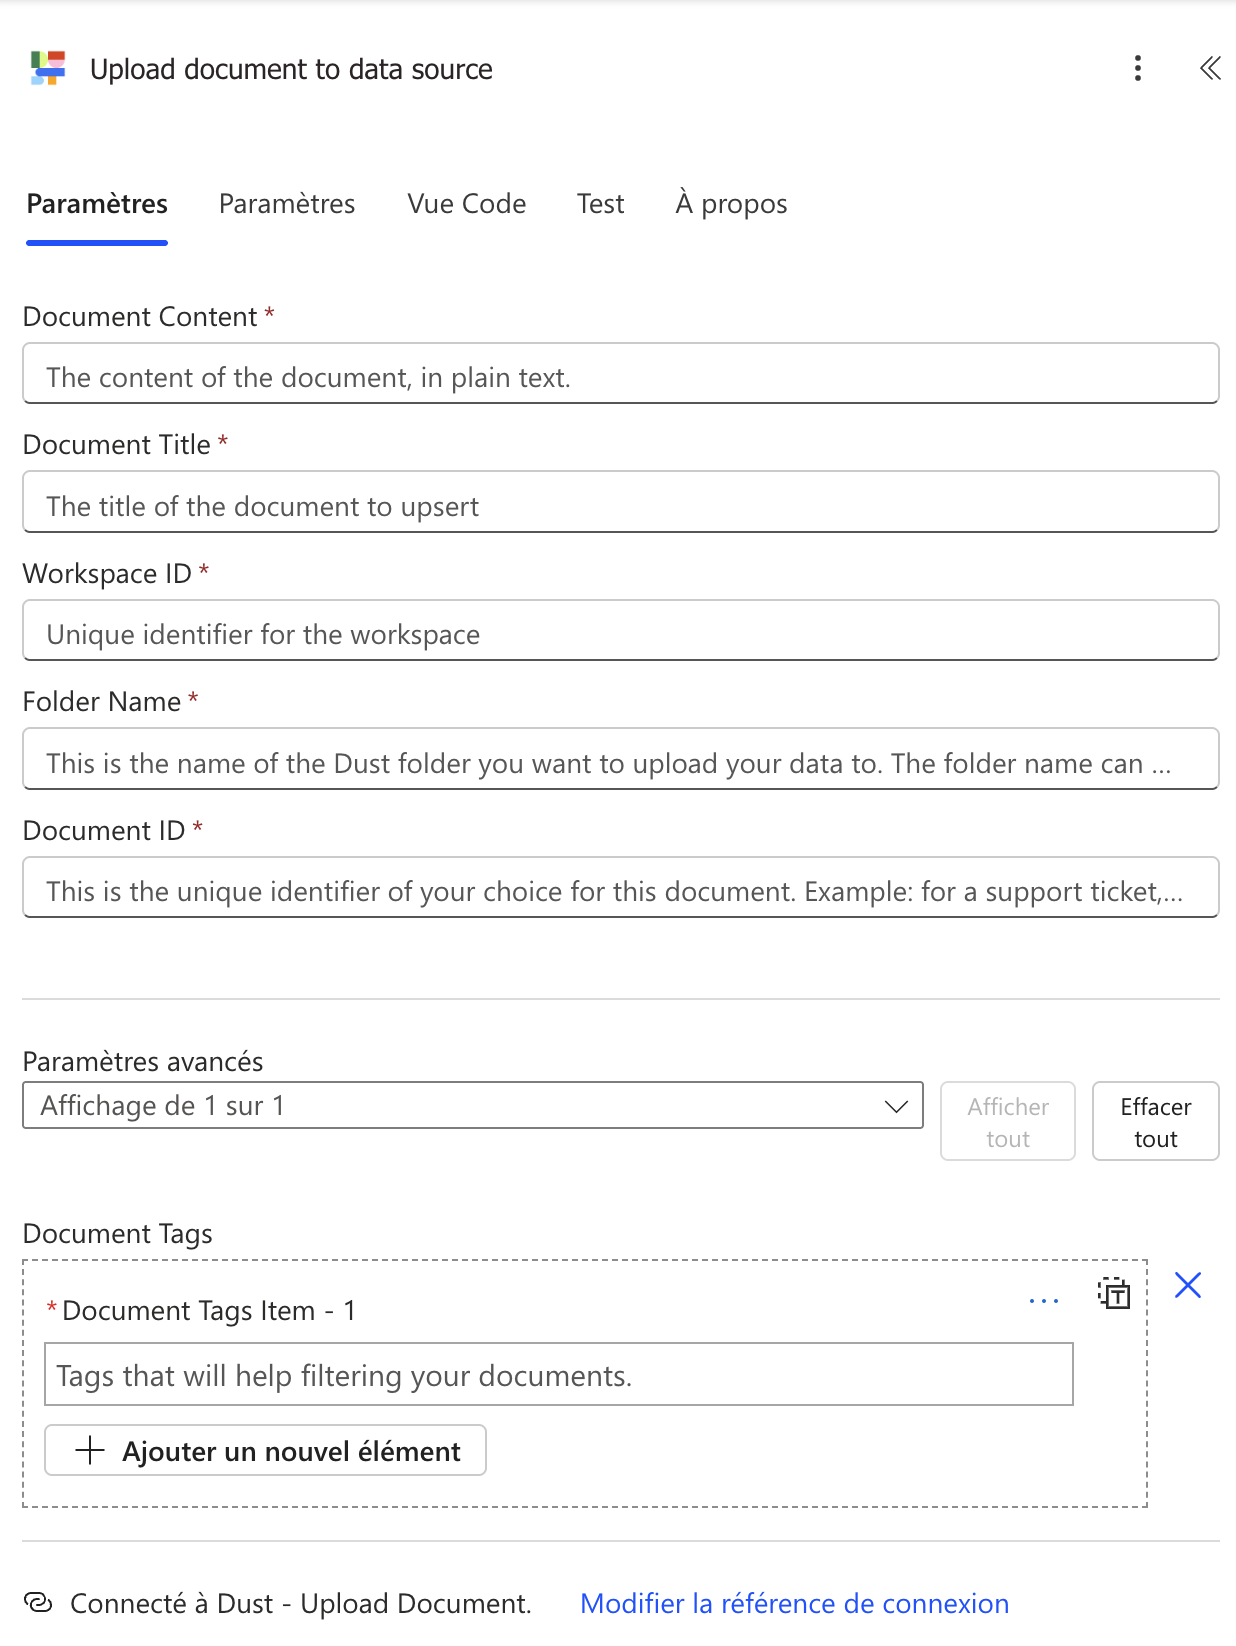
- Select the Dust connector you want to use (either Talk to an Agent or Upload document)
- Enter your Dust API Key in the authentication field ( ⚠️ You must add "Bearer " before your API key)
Step 2: Enter the required Parameters
You may need to click on the "Display all" button.
Updated 9 months ago
Did this page help you?