Quickstart
Manage everything about your workspace as a Dust Admin.
Welcome to Dust! If you are here, it's because you are an Admin of your workspace. As an Admin, you have all the privileges rights. See more about Memberships & Roles.
You can set-up multiple parameters for your workspace by going to the Admin Panel.

In order to make the most out of Dust, here are the steps we recommend.
Step 1. Add your first Connection
You can use Dust without data sources, but what makes Dust really powerful is its ability to connect to your knowledge bases. As an admin, you have the ability to manage data sources and make them available for all members of your workspace.
There are various types of Data Sources:
- Managed Connections: your main communication and knowledge tools, they get synchronized automatically, so Dust can always have access to recent information
- Public Websites: ingest data from public websites with our web crawler, which you can refresh at the cadence you want
- Folders: store static information in a folder, just like you would on your computer.
About sharing data and permissions
- Even once synchronized, your data is not yet shared nor usable with your workspace members. You can make the connected data available to other people in your workspace by adding it to a space.
- When adding a connection, you can select exactly which channels or folders you want Dust to have access to.
How to add my first connection
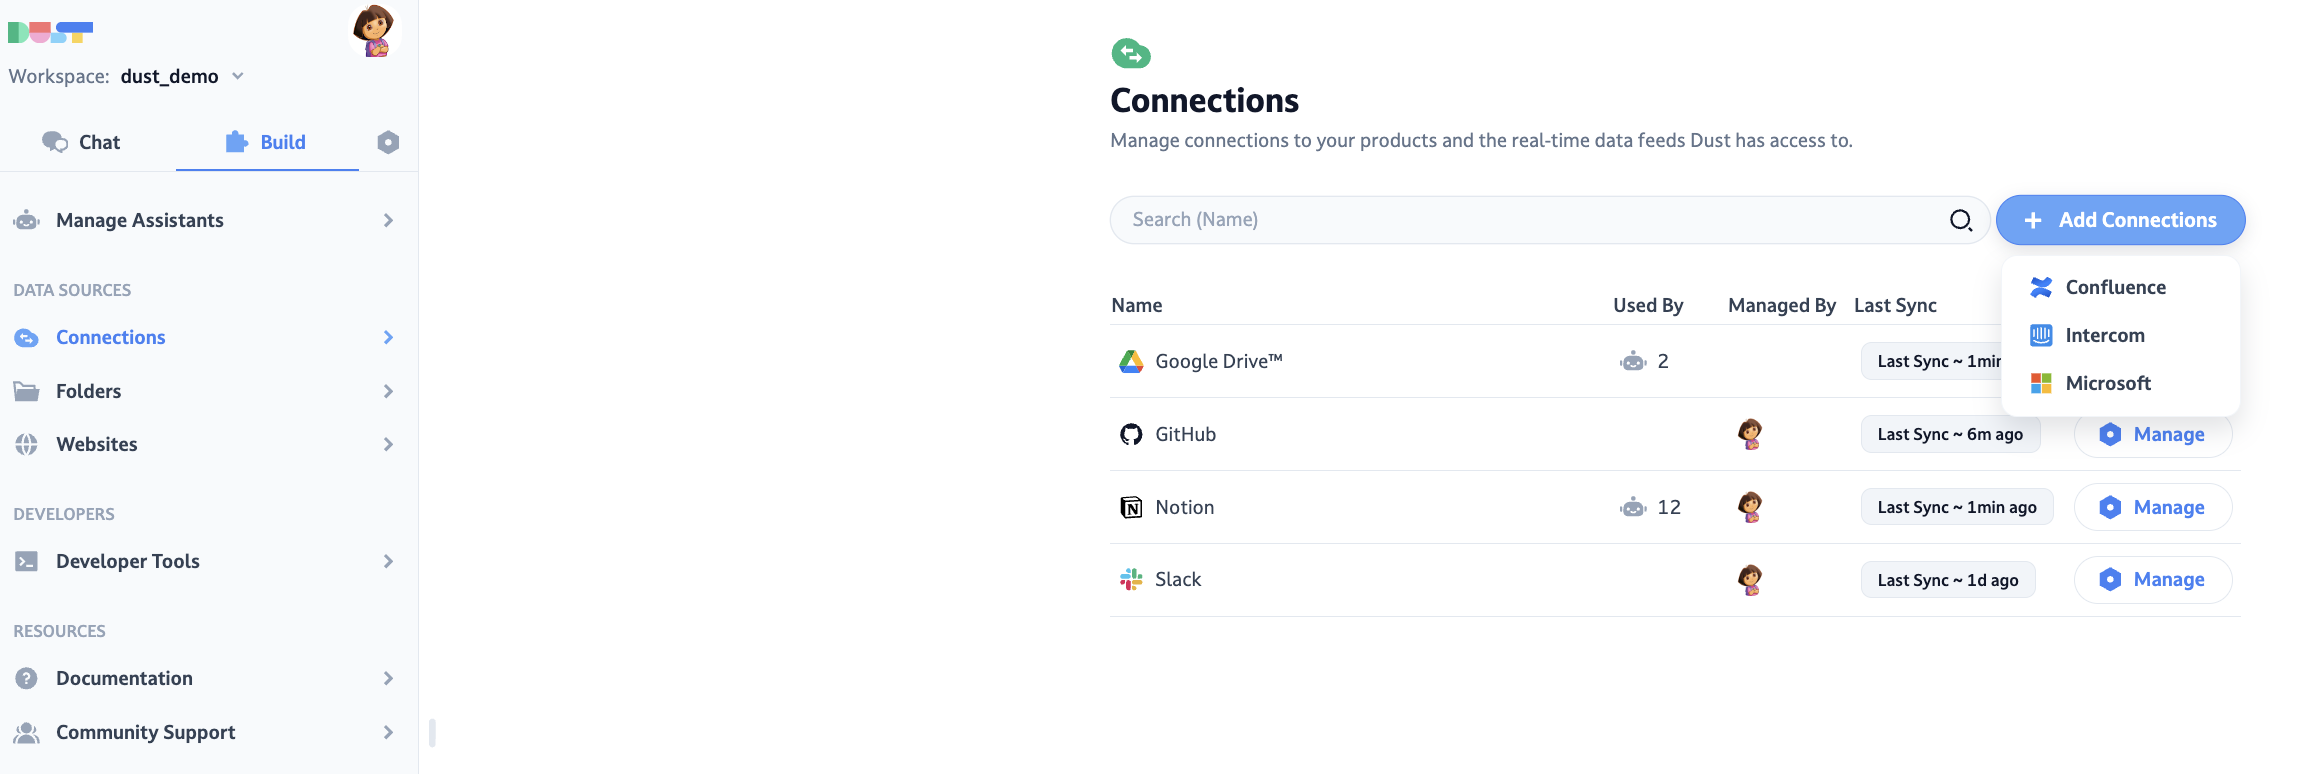
Go to ️Spaces > Connections, select the desired Connection, click Connect > Authenticate your account, and select the data you wish to synchronize with Dust.

To get help on how to set-up the various connections, you can refer directly to Connections.
Step 2. Set up the @dust Agent
Now that you have built the first steps of your connections, you can start benefitting from the power of Dust. A very useful agent in your journey is the@dust agent.
@dust is created to help you answer questions by looking into your company data. Think about it as your company data researcher, or "Perplexity for internal data". It works using Retrieval Augmented Generation.
How to set-up Dust
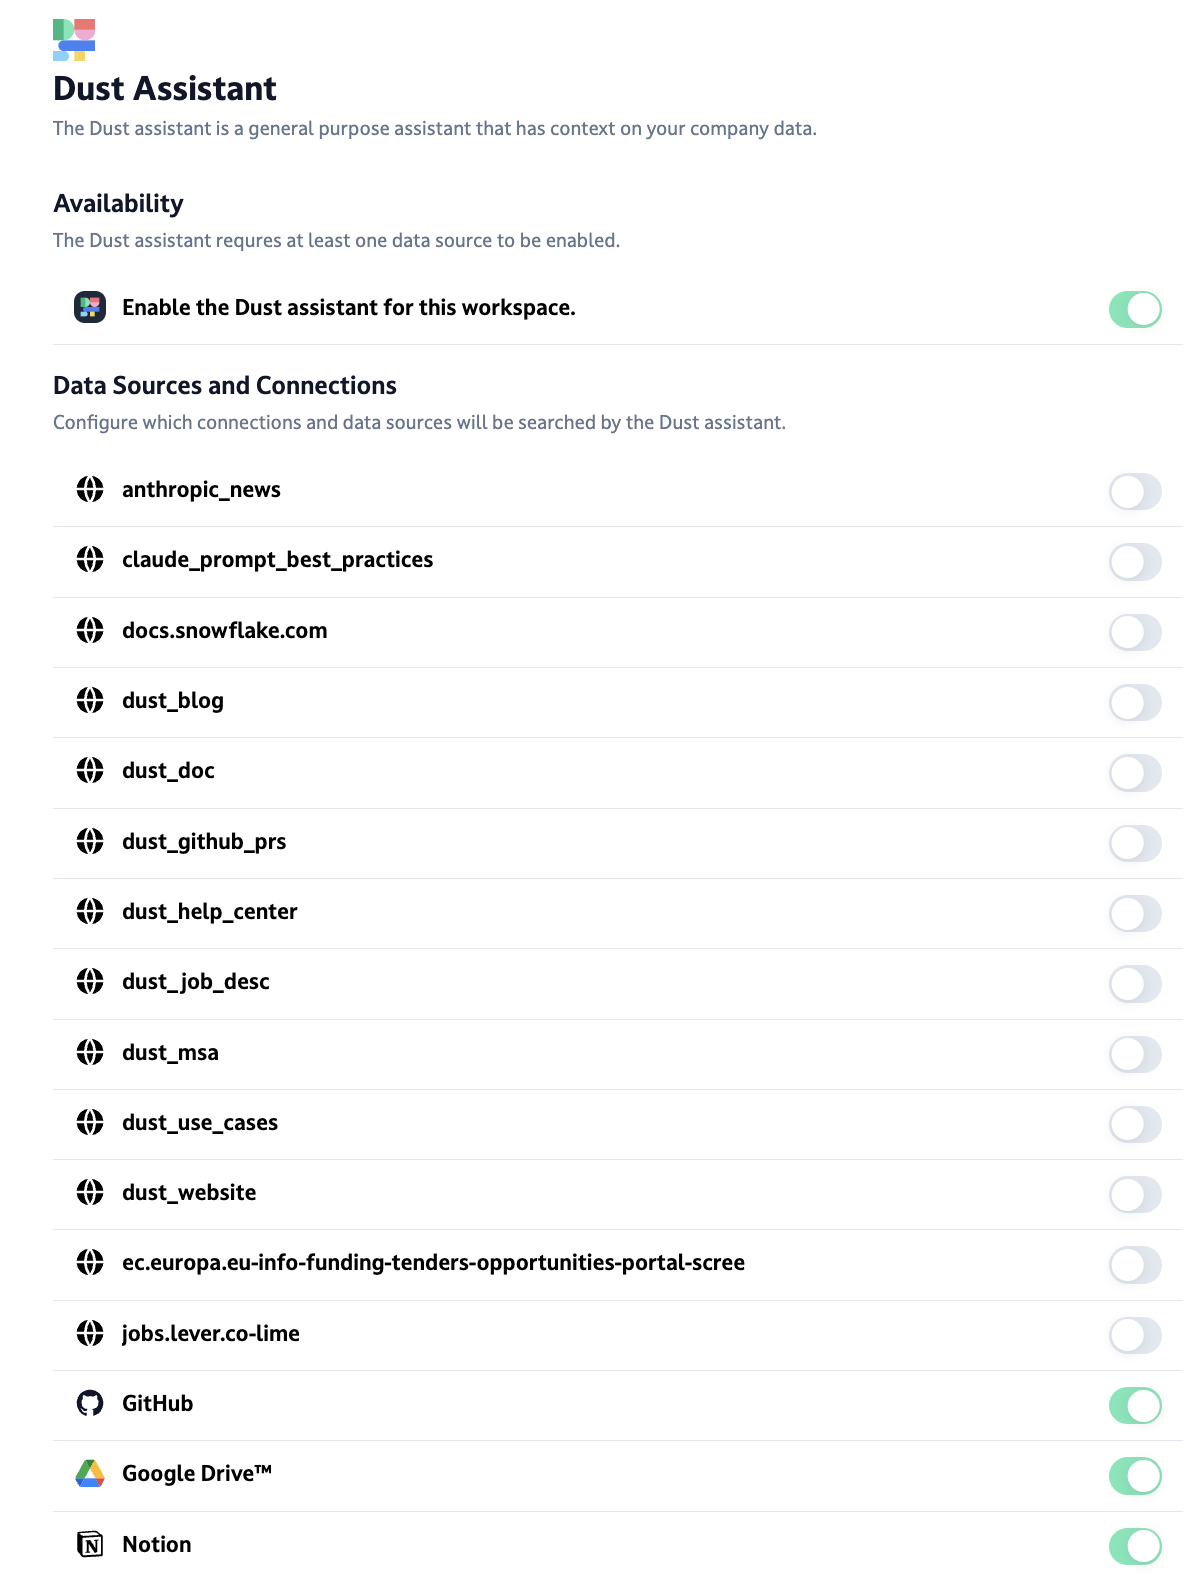
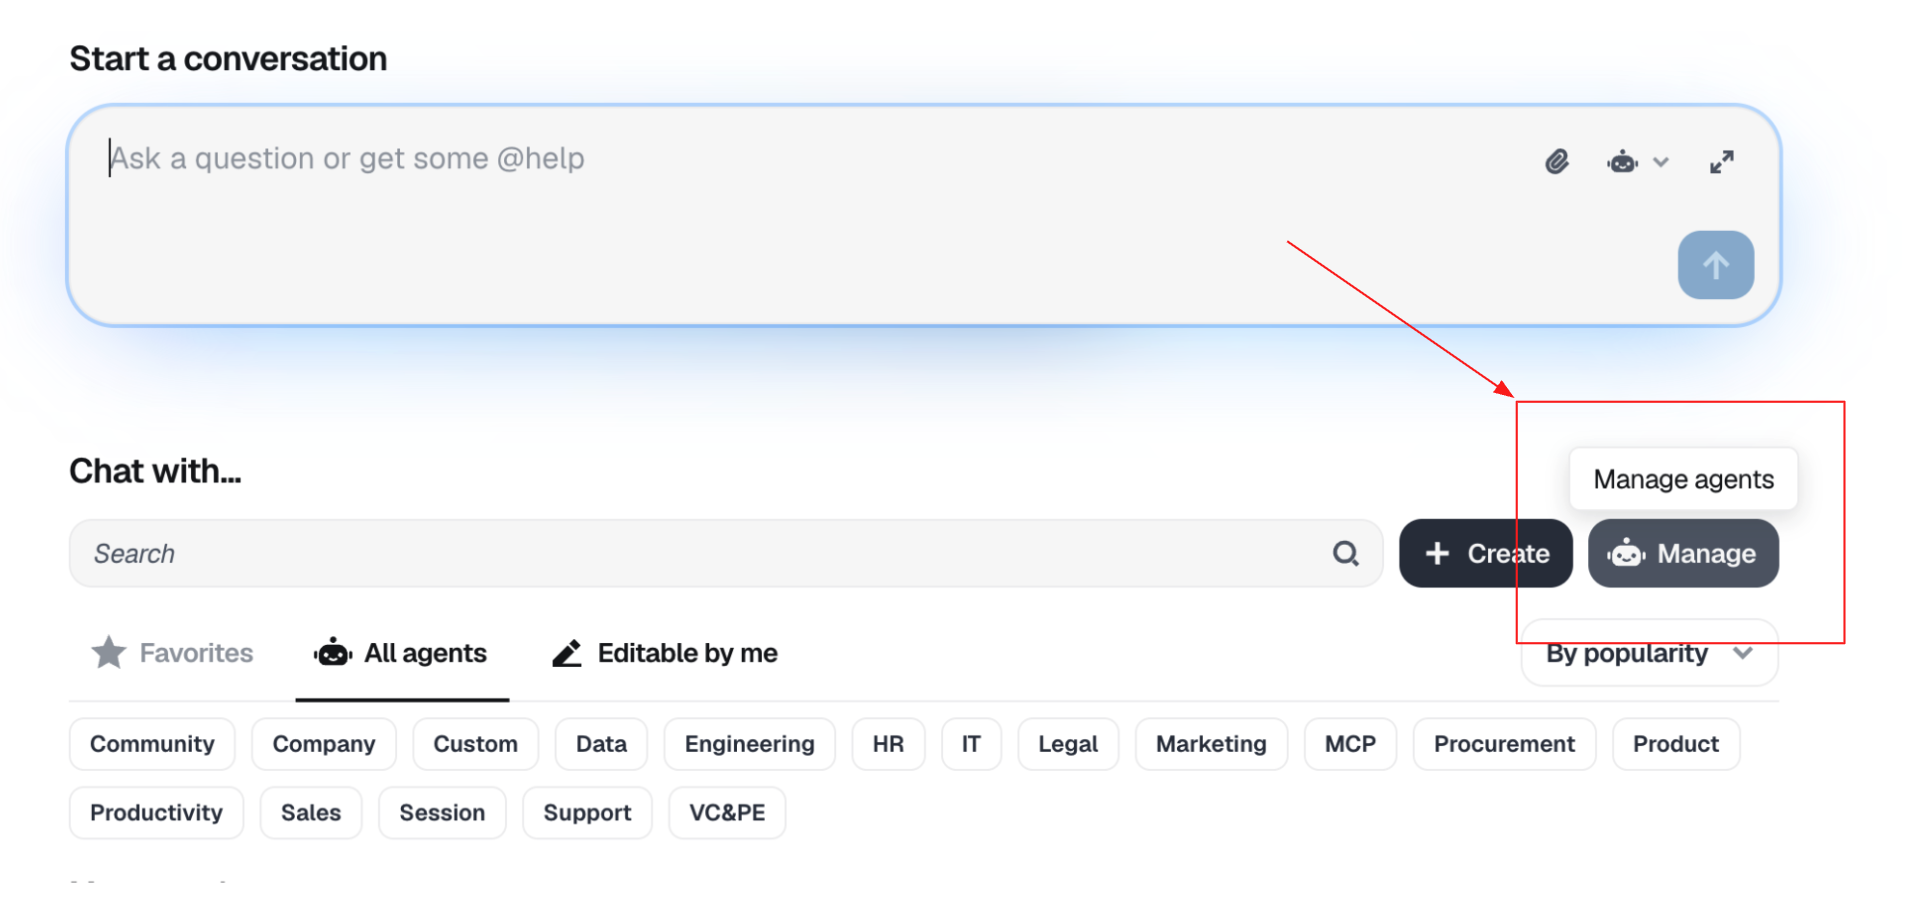
- Go to ️Chat > Manage Agents > Default>@dust and click on Manage. From there, you will be able to choose which data sources @dust has access to.
- Select the data sources you want to give @dust access to.


Step 3. Add Dust to Slack (optional)
One great use of Dust is to call the agents directly in Slack. You'll be able to leverage the ongoing conversation, and anybody in the Slack channel will be able to see the answer.
- Install and authorize the Dust app in Slack.
- Add the Dust app to your Slack channels.
- You're all set! All workspace members can interact with @dust directly in Slack.
About Slack Settings
- To export your @dust conversation history in Slack, remember that it's like exporting direct messages. You can only do this if you're an Owner or admin of a Slack Business+ or Enterprise Grid account.
That's it! You're all set to make the most out of Dust!
Updated 25 days ago
