Adding an MCP Server
Extending Dust's toolset beyond the default list of tools is possible by adding extra MCP Servers. Multiple authentication modes are available to comply with a large variety of third-party services.
Remote MCP Servers and how to add them.
As an administrator, you can add a Remote MCP Server to your workspace. To do so, navigate to Spaces > Tools. Here, you'll find an Add Tool button.
Clicking this Add Tool button will open a list of Dust-built MCP Servers, and an Add MCP Server button
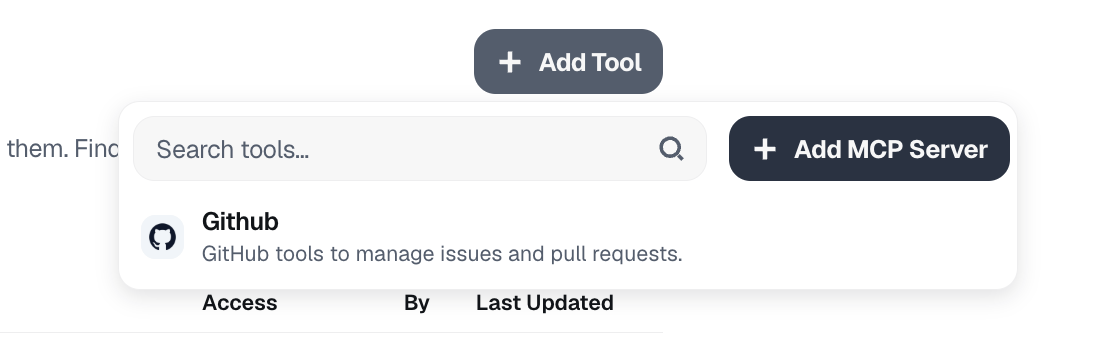
The interface to add an MCP server
Publicly available MCP servers
You can also use any MCP Server available on the internet. Plenty of MCP providers exists out there and are usable out of the box with Dust.
Some examples of publicly available MCP servers:
- Attio MCP — URL:
https://mcp.attio.com/mcp(OAuth) — Search, create, and update CRM data in your Attio workspace.
On the click of the Add MCP Server button, you'll only have to enter the MCP server's public URL, and after a quick synchronization, your tool will be created and ready to be added and used by agents.
Authentication
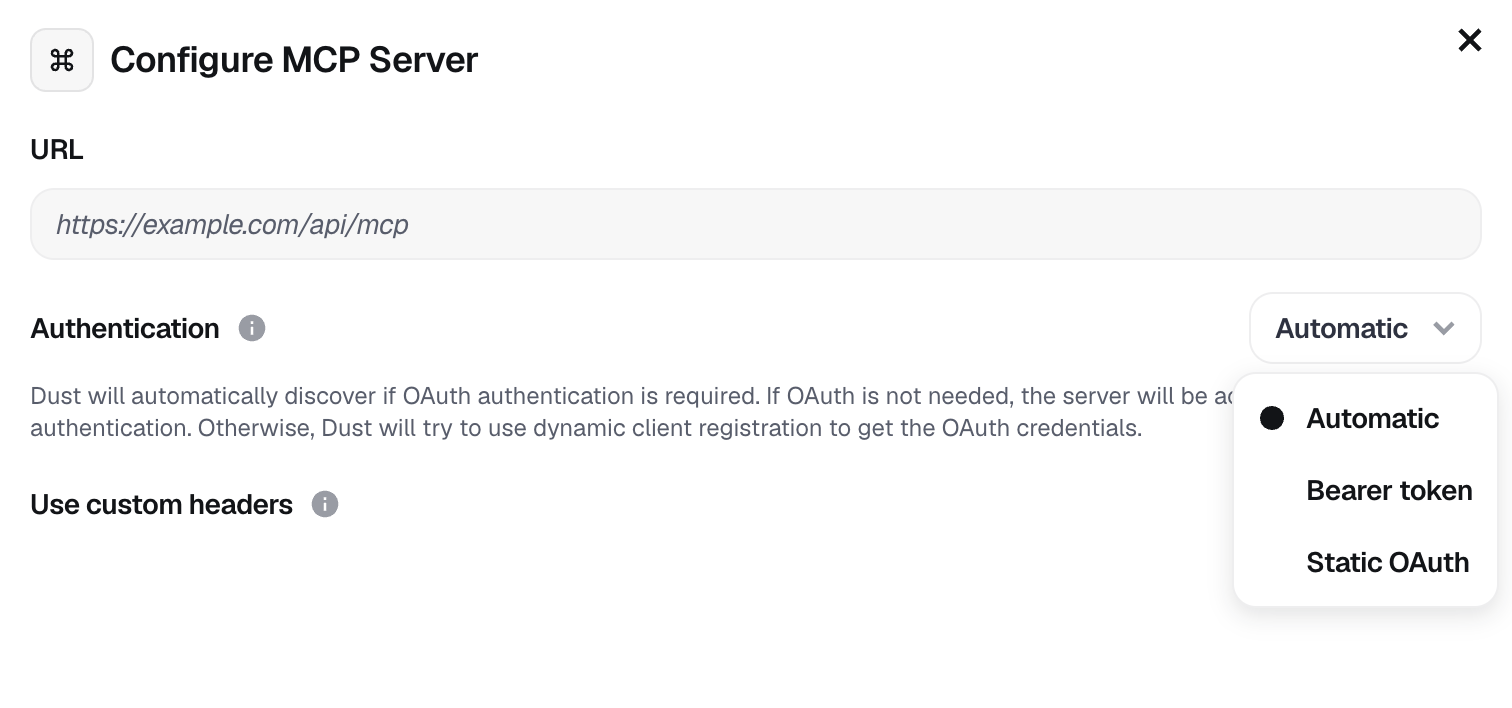
Depending on the nature of the tool to connect in Dust, the authentication flow might be different. Whenever possible, Dust supports OAuth authentication, and is the preferred authentication method.
In most scenarios, the Automatic option will discover all required configurations from the URL provided, trigger an OAuth login flow and finish the configuration automatically. This is the recommended, most secure way to authenticate to MCP servers.
Alternatively, you can use a Bearer token while setting up the connection to the MCP Server. This token will be sent as an Authorization header in the calls made to that server later.
Connecting with a Bearer token will often link the Dust connection with a single account on the third party service. This means that using them in Dust will do all the calls with the account authenticated to the server.
One way to circumvent it is to create one server per person, and to add them to some restricted spaces. This way, the authentication for a person will only be usable inside their own restricted space.
The Static OAuth option is used in the most secure scenarios where a custom OAuth app is needed to access the remote tool. Here, the admin will usually need to
- Create the OAuth app on the remote system (GitHub for example)
- Write down the Client ID and Client Secret
- Input them in Dust
The process is slightly different from platform to platform, please refer to the vendor's documentation
Example : Setup the official Github MCP with a Static OAuth connection in Dust
Github's official documentation explains this process in details here
https://docs.github.com/en/apps/oauth-apps/building-oauth-apps/creating-an-oauth-app https://github.com/mcp/io.github.github/github-mcp-server
Which translates to the following setup process.
- In Github : create an OAuth app from the developer settings page
- write down the client ID and client Secret
- use https://dust.tt/oauth/mcp_static/finalize or https://eu.dust.tt/oauth/mcp_static/finalize as the redirect URI depending on your Dust region.
- In Dust : Navigate to Spaces > Tools > Add tools > Add MCP server and use the following settings
- Static Oauth URL : https://api.githubcopilot.com/mcp
- OAuth token endpoint : https://github.com/login/oauth/access_token
- OAuth Authorization Endpoint : https://github.com/login/oauth/authorize
- OAuth scopes : [let your github security admin decide this] but recommendation is "repo, user"
- Use custom headers : no
- Connect.
Custom MCP servers
You can also create a MCP Server yourself, and plug it directly into Dust. For this, you will need
- To host it in your infrastructure
- assign it a public URL
- secure its access by creating an Oauth app in your cloud provider, or dropping all network traffic except the white-listed Authorization Header contained in the Bearer Token field
Connectivity to the custom MCP server can be tested using the official MCP inspector tool
Whitelisting Dust as an MCP Provider
If you operate a third-party MCP server and want to support Dust users connecting to it, whitelist the following Dust callback URLs in your OAuth authorization server. This enables the OAuth authentication flow when customers add your server in Dust, and is recommended over Bearer token authentication for a better user experience. It may also be required to get your server listed on the Dust integrations page or in the Dust app.
OAuth (with Dynamic Client Registration):
| URL | Region |
|---|---|
https://dust.tt/oauth/mcp/finalize | Global |
https://app.dust.tt/oauth/mcp/finalize | Global |
https://eu.dust.tt/oauth/mcp/finalize | EU |
Static OAuth:
| URL | Region |
|---|---|
https://dust.tt/oauth/mcp_static/finalize | Global |
https://app.dust.tt/oauth/mcp_static/finalize | Global |
https://eu.dust.tt/oauth/mcp_static/finalize | EU |
Updated about 2 months ago