Create your first agent
Learn how to set-up your first AI powered agent in Dust
In Dust, you can create your team of specialized agents to help you on your day-to-day tasks. Each agent has specific instructions and access to specialized tools that take their capabilities to the next level.
Let's discover how they work!
Overview
- Instructions: Command or guideline you provide to your agent to direct its responses.
- Tools & Knowledge: tools that your agent can use to answer - such as searching in your Data Sources or navigating the Web. Before replying, the agent will decide which tools to use (one or many) to provide you with the best possible answer.
Build your first agent
Step 1: Create an agent
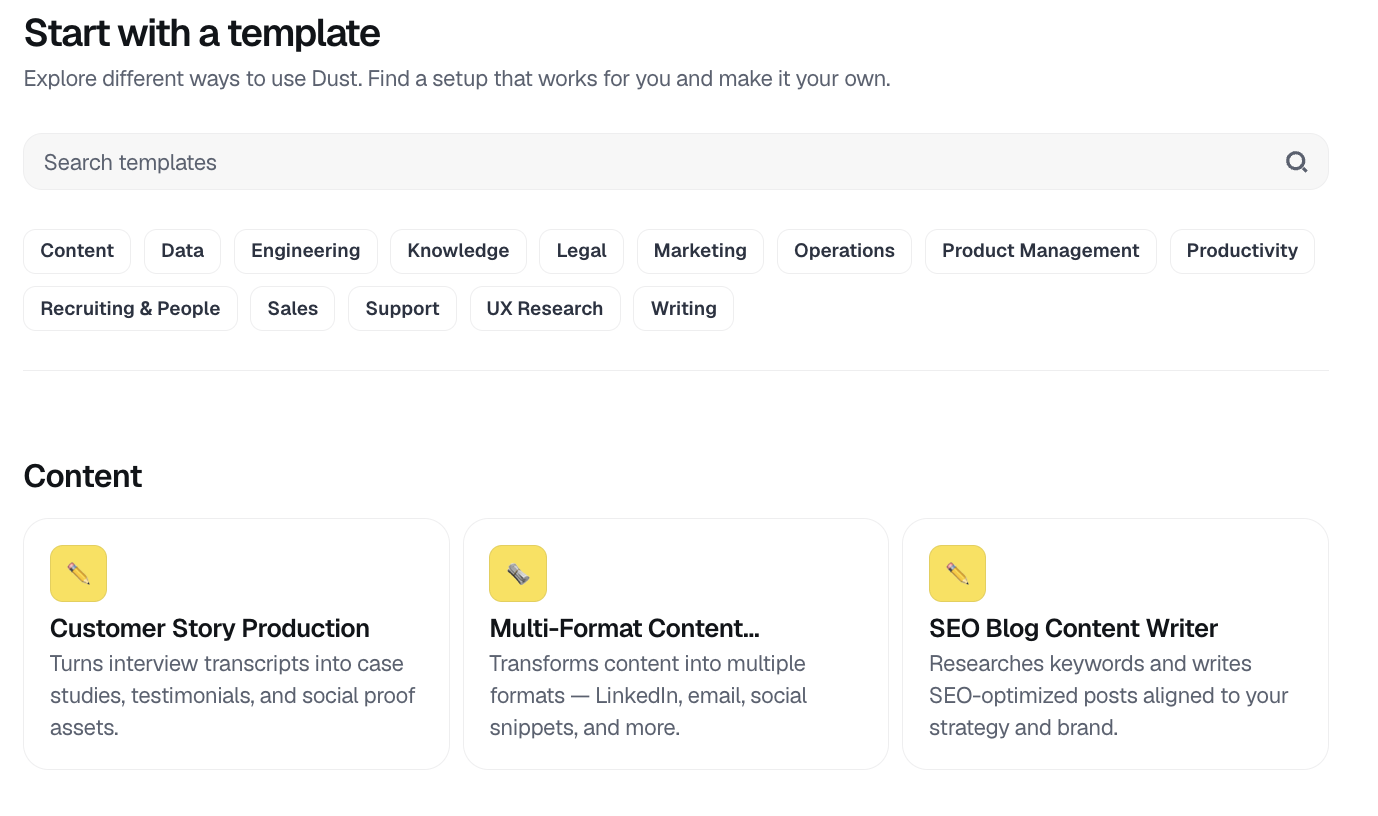
Click Create from the home page. You can start from scratch or pick a template. In both cases, Sidekick opens to help you draft high‑quality instructions and a working configuration.
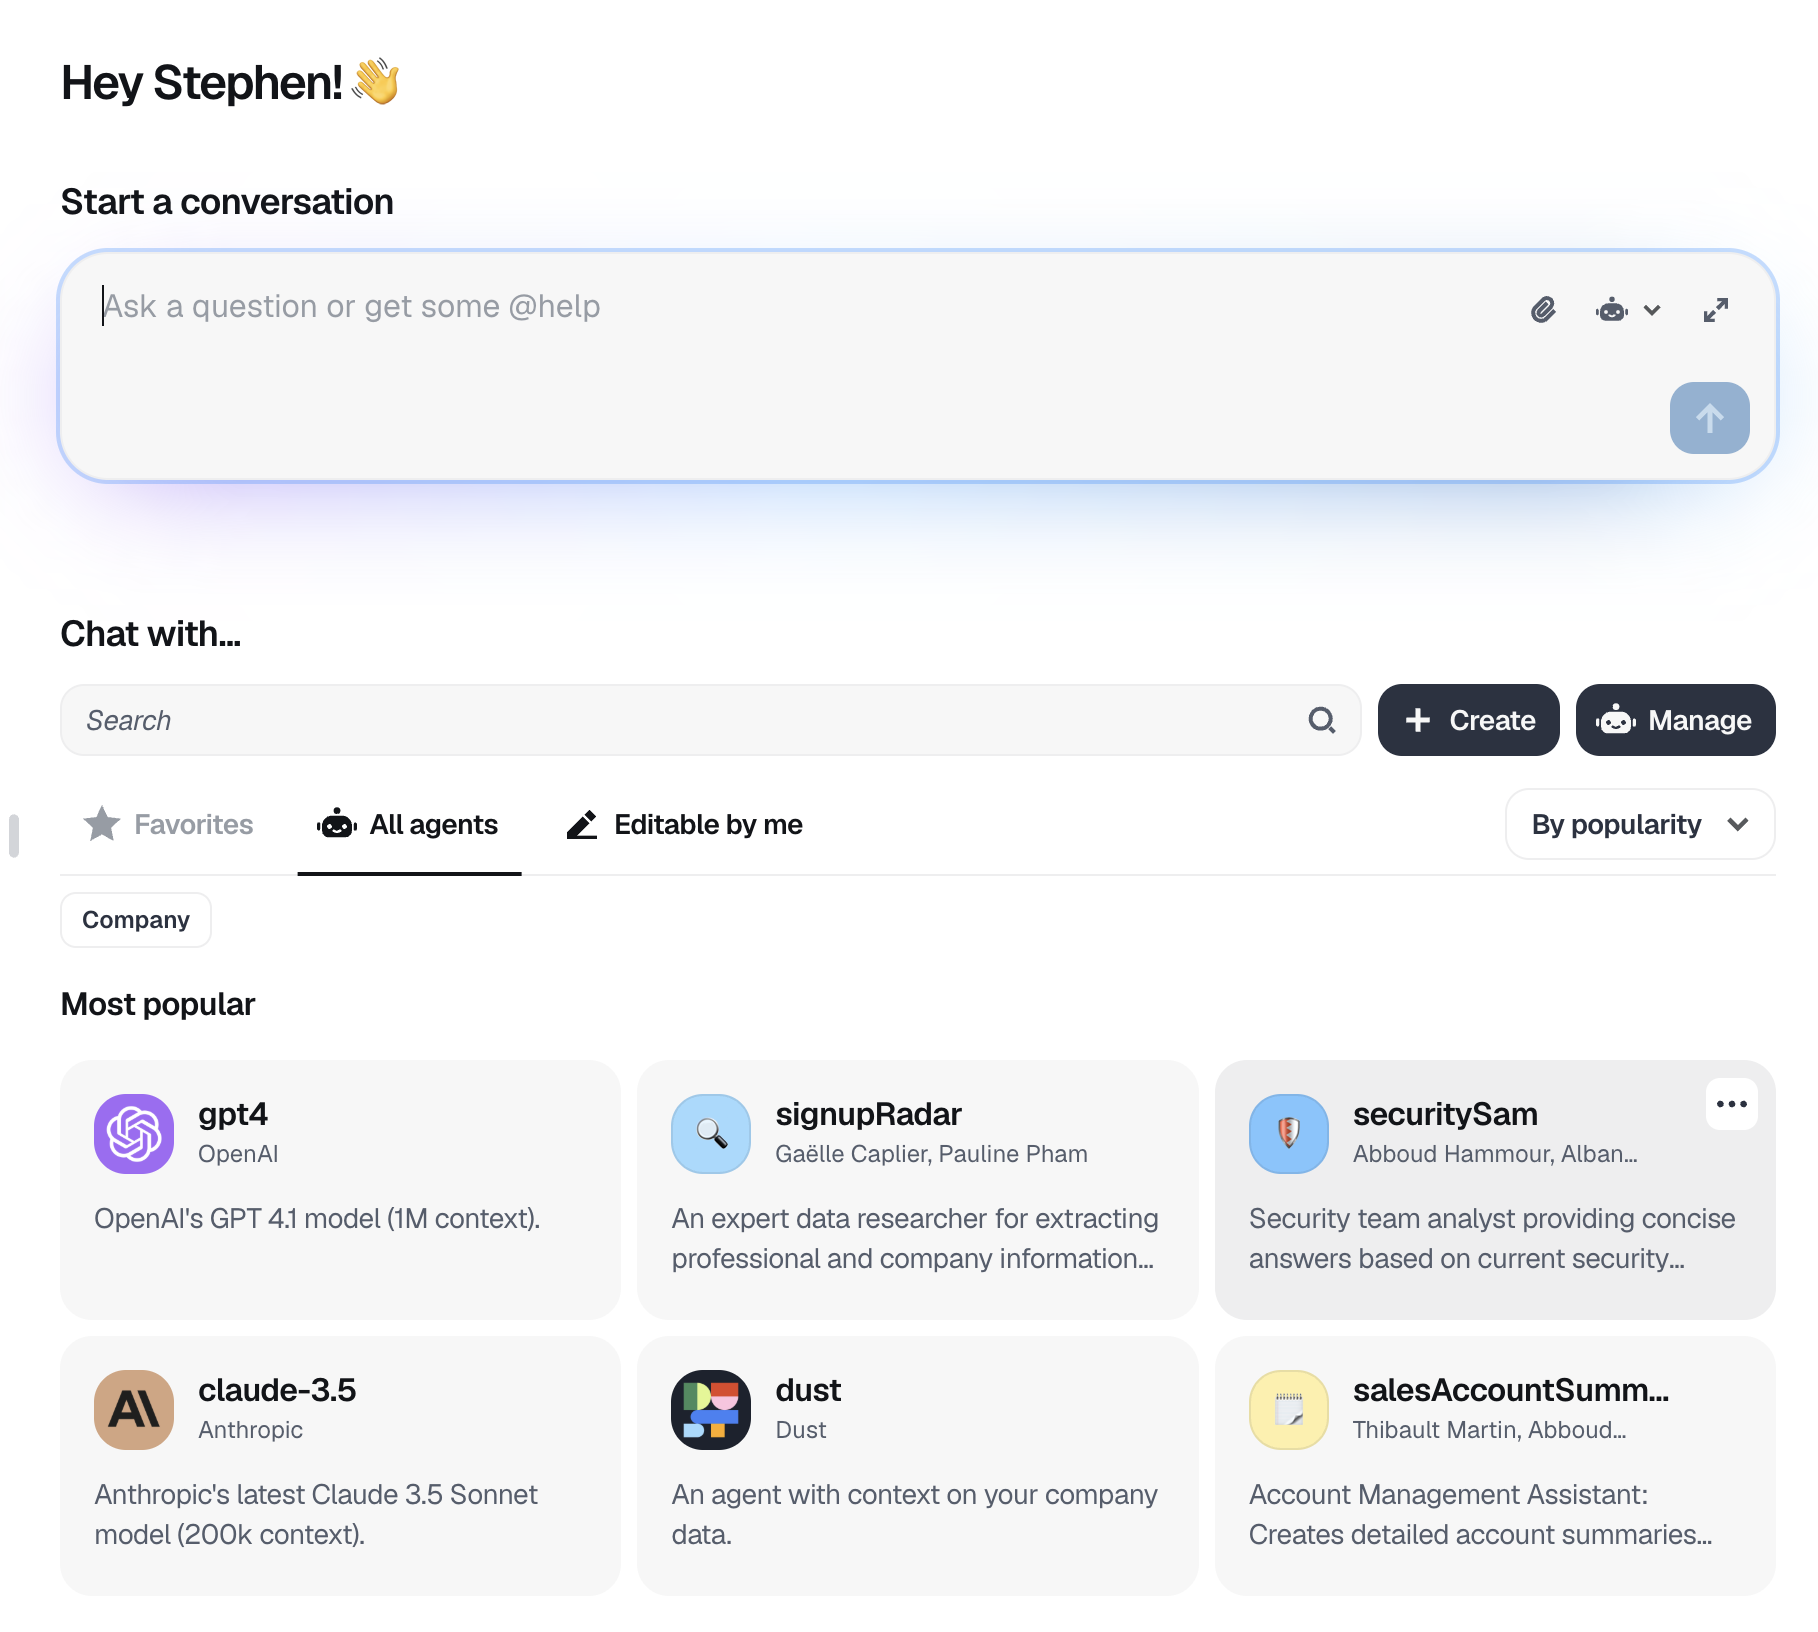
Create entry point on the home page
Sidekick pane visible alongside the builder
Step 2: Give it instructions
Instructions tell your agent how to behave. How to write effective Instructions
Use Sidekick to draft and evolve your agent's instructions. Review Sidekick's suggestions inline, apply edits, and iterate until the preview behaves as expected.
Step 3: Give it tools & knowledge
Sidekick will propose tools and data sources based on your goal. You can add or remove tools at any time.
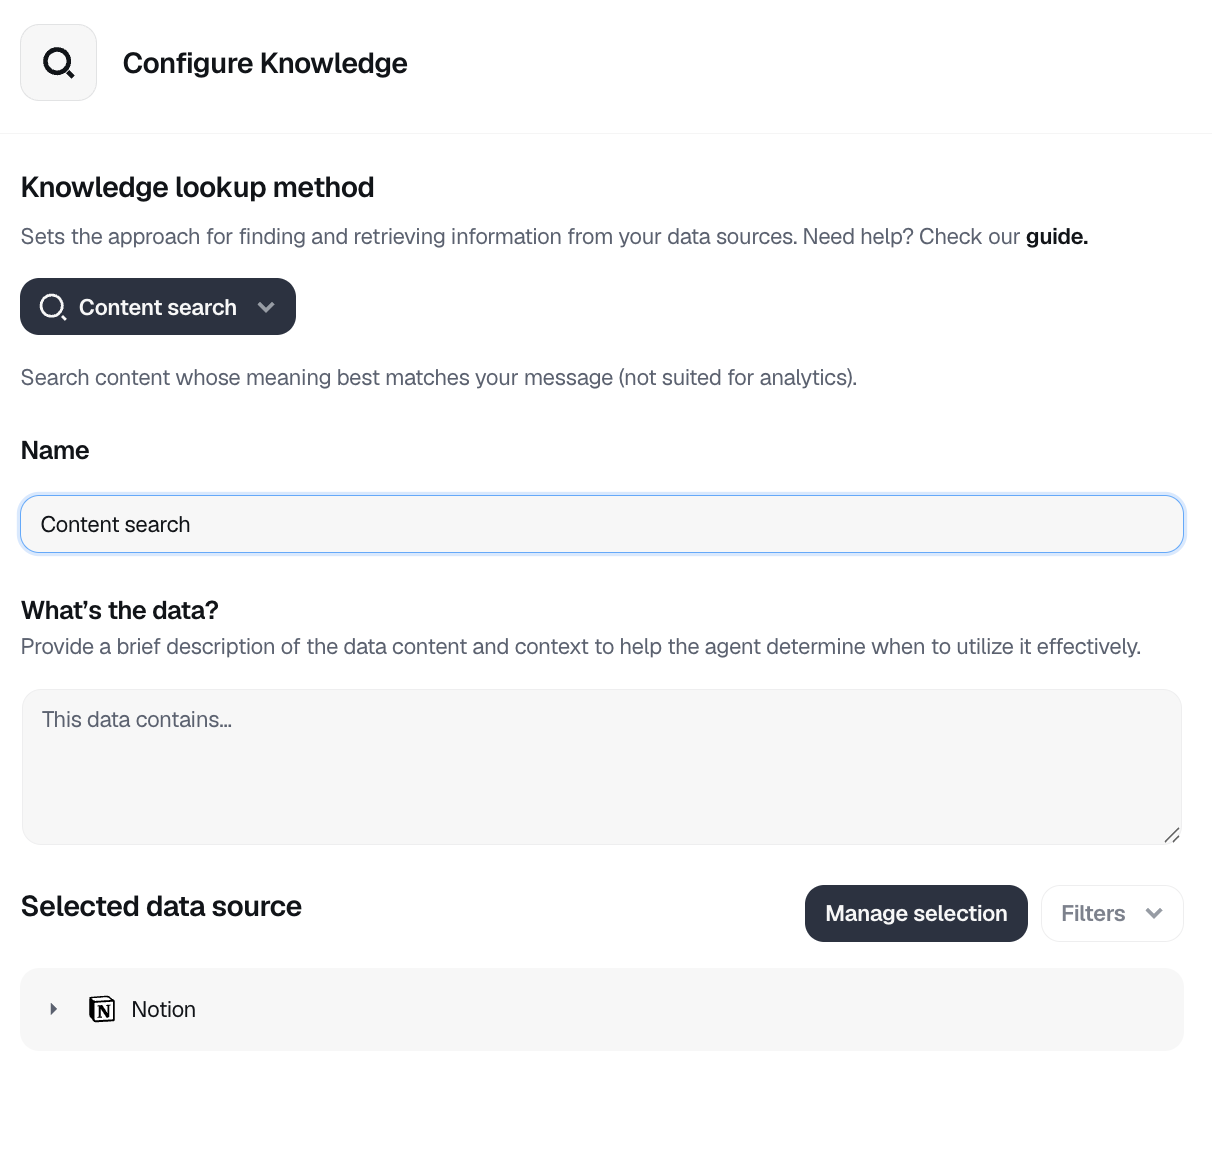
Tools & Knowledge give your agent special abilities. In this case, we'll give our agent access to the generic search ability. This will allow the agent to search through your documentation to find the most relevant documents and to use them as context to generate the answer.
Learn more about tools & capabilities
For this example, do the following:
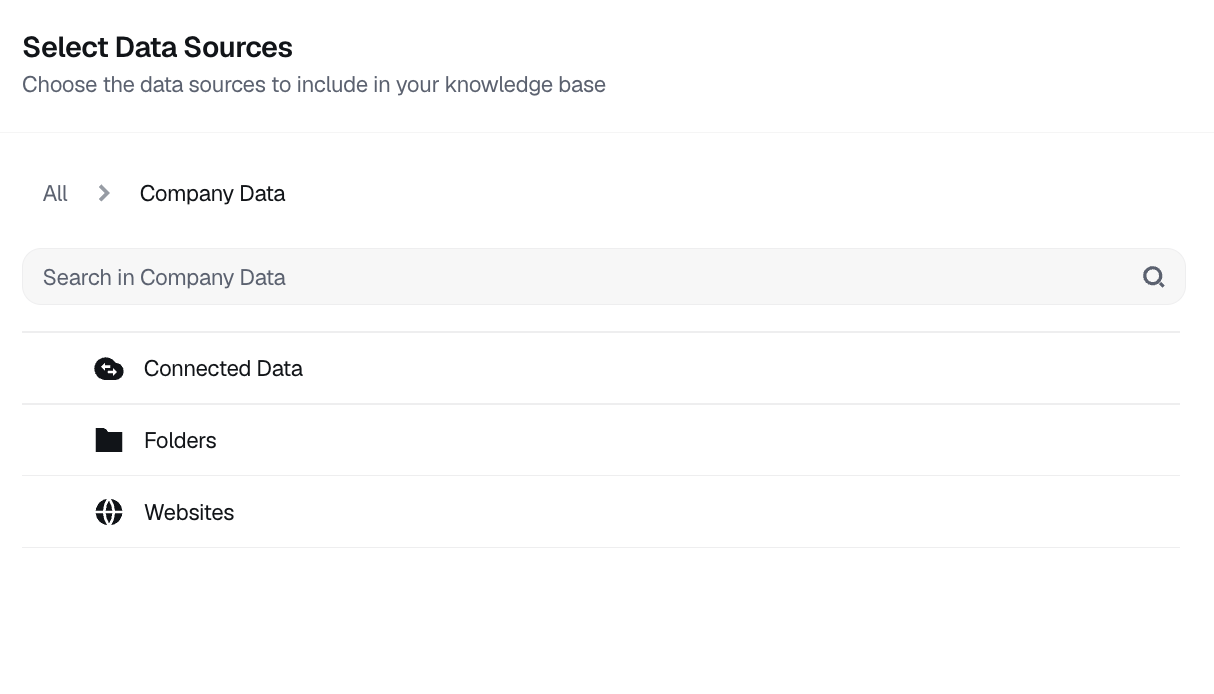
- Pick the Company Data space
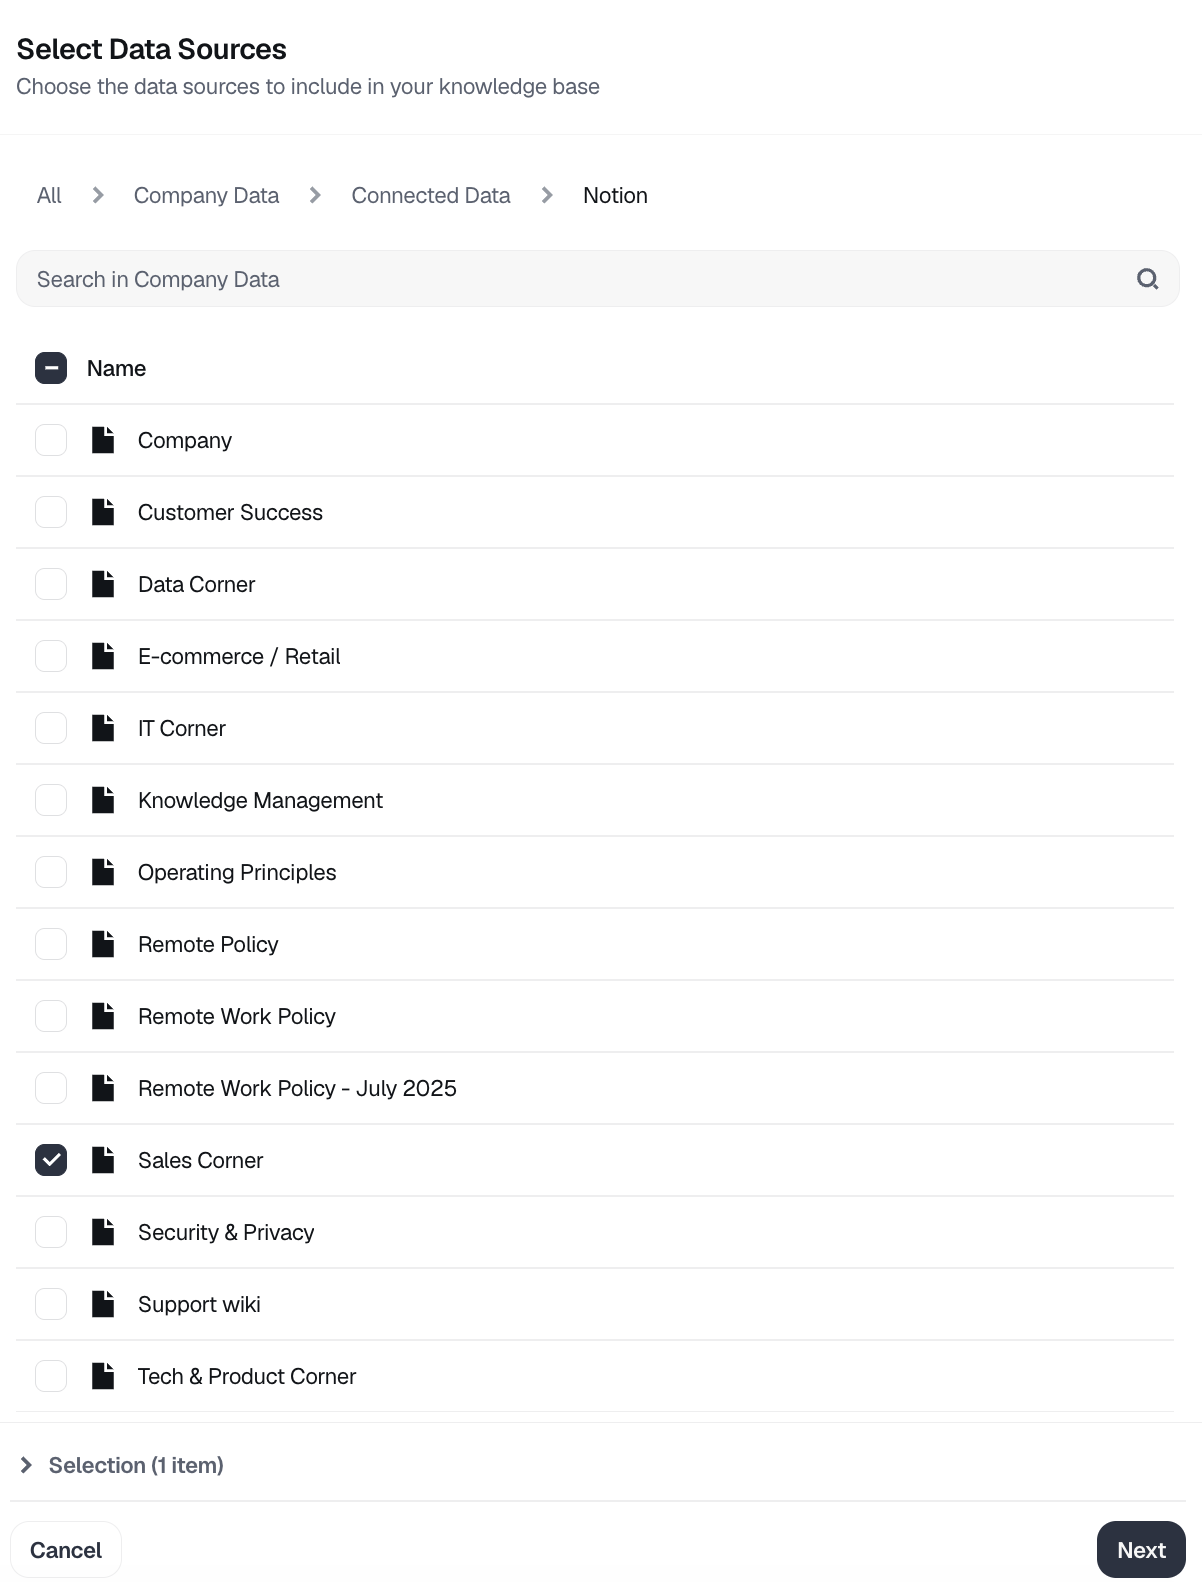
- Select Notion under Connected Data
- Select the right data sources: in this case, I selected a Notion folder `Sales Corner.
- Add a small description of the data source: this will help the agent understand when to use the tool
Step 4: Test your agent
You can test your agent at any time. Agents will usually require some iterations on the instructions or the tools to get to where you want it to be.
Use the preview area next to the builder to test your agent and validate changes quickly.
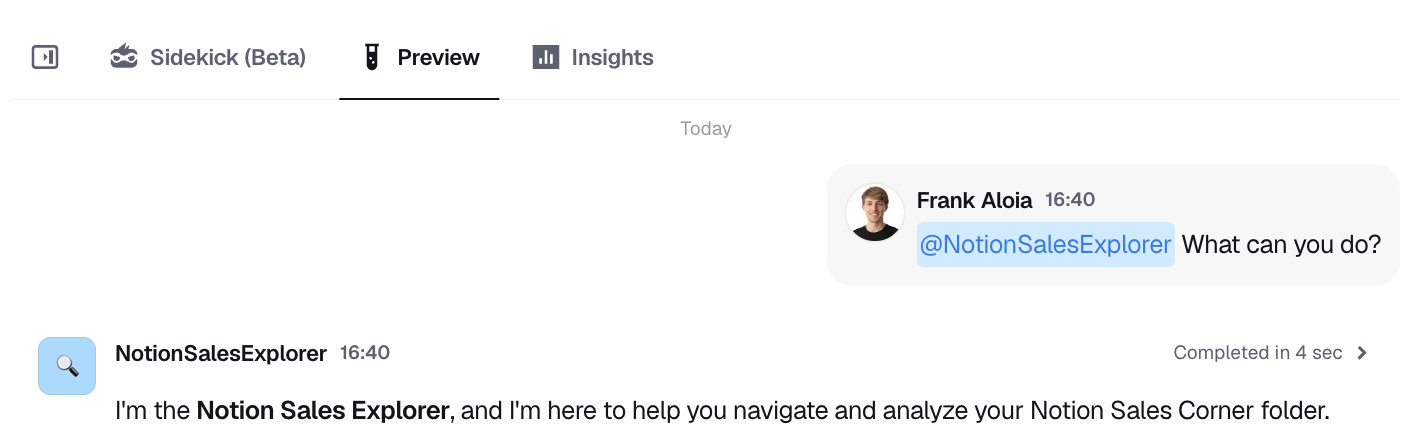
Preview area for testing your agent
Step 5: Give it a name, a description, and tags
Moving on to the last stage, our final agent Settings
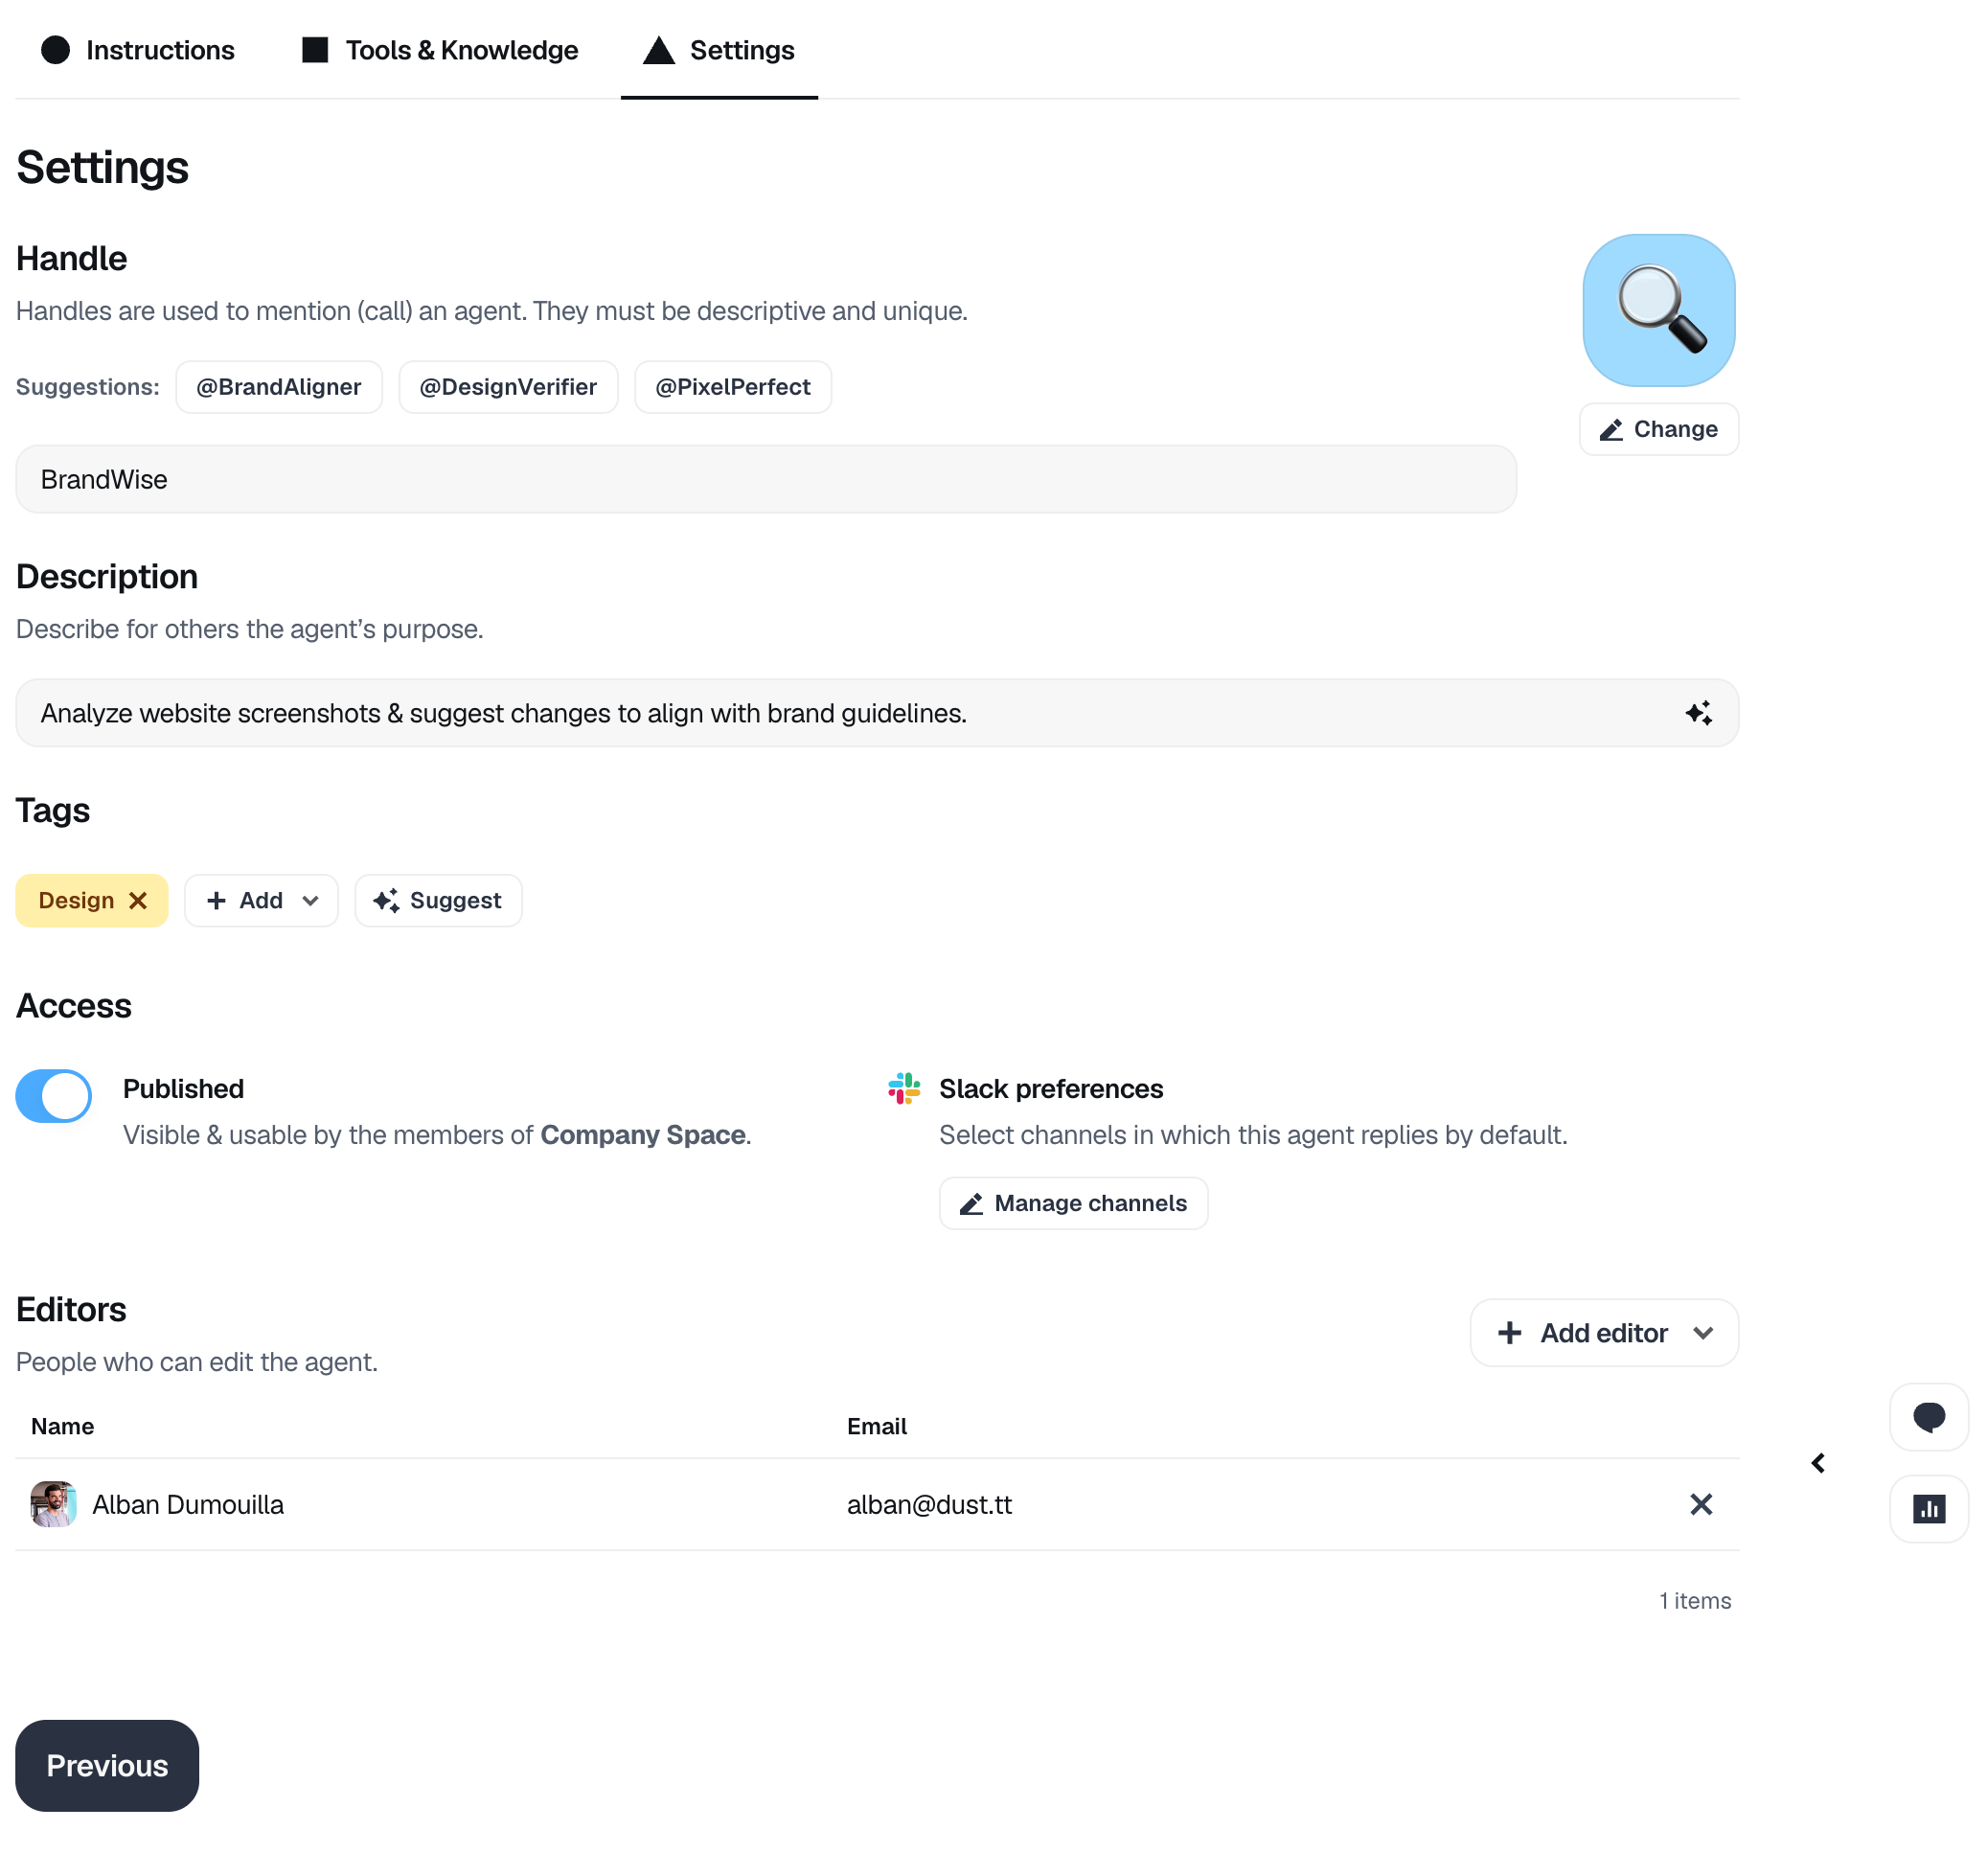
Handle : Choose a clear, descriptive name that helps users understand what your agent does. The name becomes its calling handle - users will type @name to activate it in conversations.
Add a brief description explaining the agent's purpose and capabilities. This helps your team understand when to use it, and will help @Dust guide the user to find a proper agent when needed.
Tags help organize and find agents in your workspace. Pick tags that describe your agent's purpose and capabilities. Well-tagged agents are easier to discover, leading to better team adoption
Tag suggestionsClick "✨ Suggest" to see relevant tags based on your agent's description
Note : Only administrators can create new tags (here is how). Other team members can select from existing tags
Step 6: Set access and share your agent
You can decide to publish or not your agent. A published agent will be visible and usable by all members the workspace, as long as they have access to the data sources used by the agent.
A non-published agent will be visible only to you and the other editors.
You can define who will be able to edit the agent by adding users the "Editors" section.

Step 7: Use your agent
- In the dust web app: Simply call your agent by beginning your message with
@YOUR_AGENT_NAMEin the Dust web app to use it. - In Slack:
- Call your agent from Slack with
@dust +YOUR_AGENT_NAMEbefore your message. - Link your agent to a Slack channel. Every time @dust is called in the Slack channel, your agent will answer (instead of the generic @dust agent). Click on "Manage channels" under "Slack preferences"
- Call your agent from Slack with
- In Zapier: Using your agent in Zapier
Best practices
The three rules to create great agents
- 1️⃣ The more data an agent has access to, the lower the chance of retrieving the correct information.
- 2️⃣ You can "chain" agents in a conversation to complete more complex tasks.
- 3️⃣ Invest some time in your agent's instructions: test different prompts and models and keep iterating. Good instructions make the difference between poor and great results.
Good to know
- Unsure how to write best instructions, or what model to pick? Check out our Best practices
- Unsure what to use Dust for, or how to build it? Check-out our Use Cases & Guides
Updated about 1 month ago