[Zapier] Automatically add any datasource to Dust
In this article, we will guide you through how to use the Dust block in Zapier to automatically upload data you want to use as Data Source to Dust.
1. First, create the Dust Folder you would like to store your data in
- Go to Dust, Spaces >[space name] > Folders >
+ Add a new Folder - Choose a name for your folder (you’ll need it later on!), and save
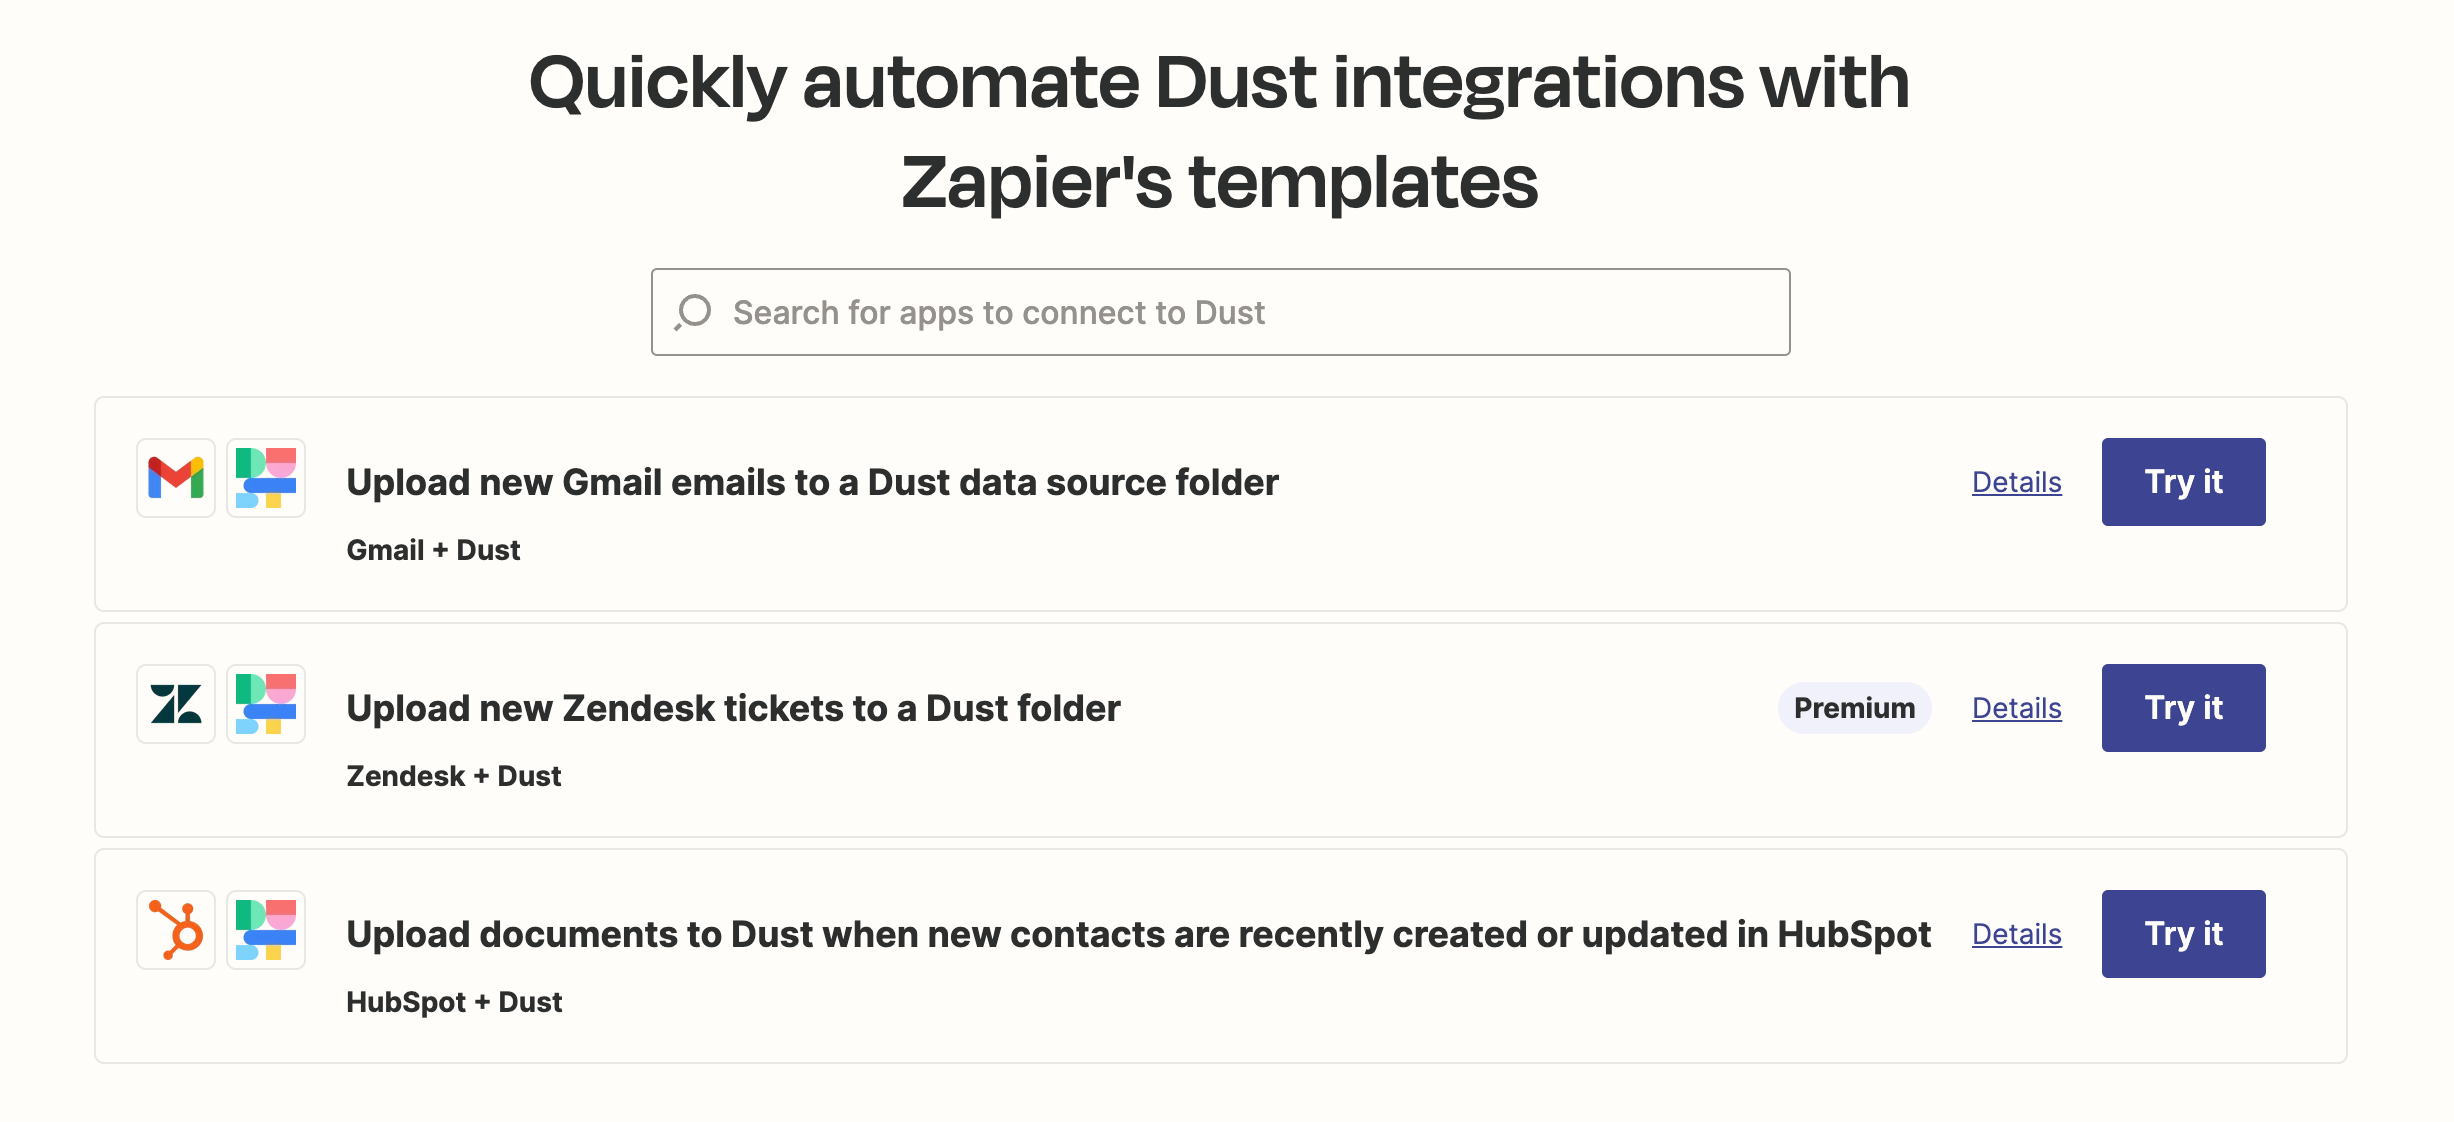
2. Then, go to Zapier and create a new Zap
We have created a few templates to automatically add emails with Gmail, data from Hubspot or tickets from Zendesk to help you start quickly.
3. Add your Trigger event
Trigger event- Here you should choose the tool you want to extract data from. Select Gmail if you want to add email content as data source for instance, or Zendesk to upload new tickets.
- Then follow the flow from
App & event, toTriggerandTest, and validate.
4. Add your Action event
Action event- To do so, search for Dust among Zapier integrations:
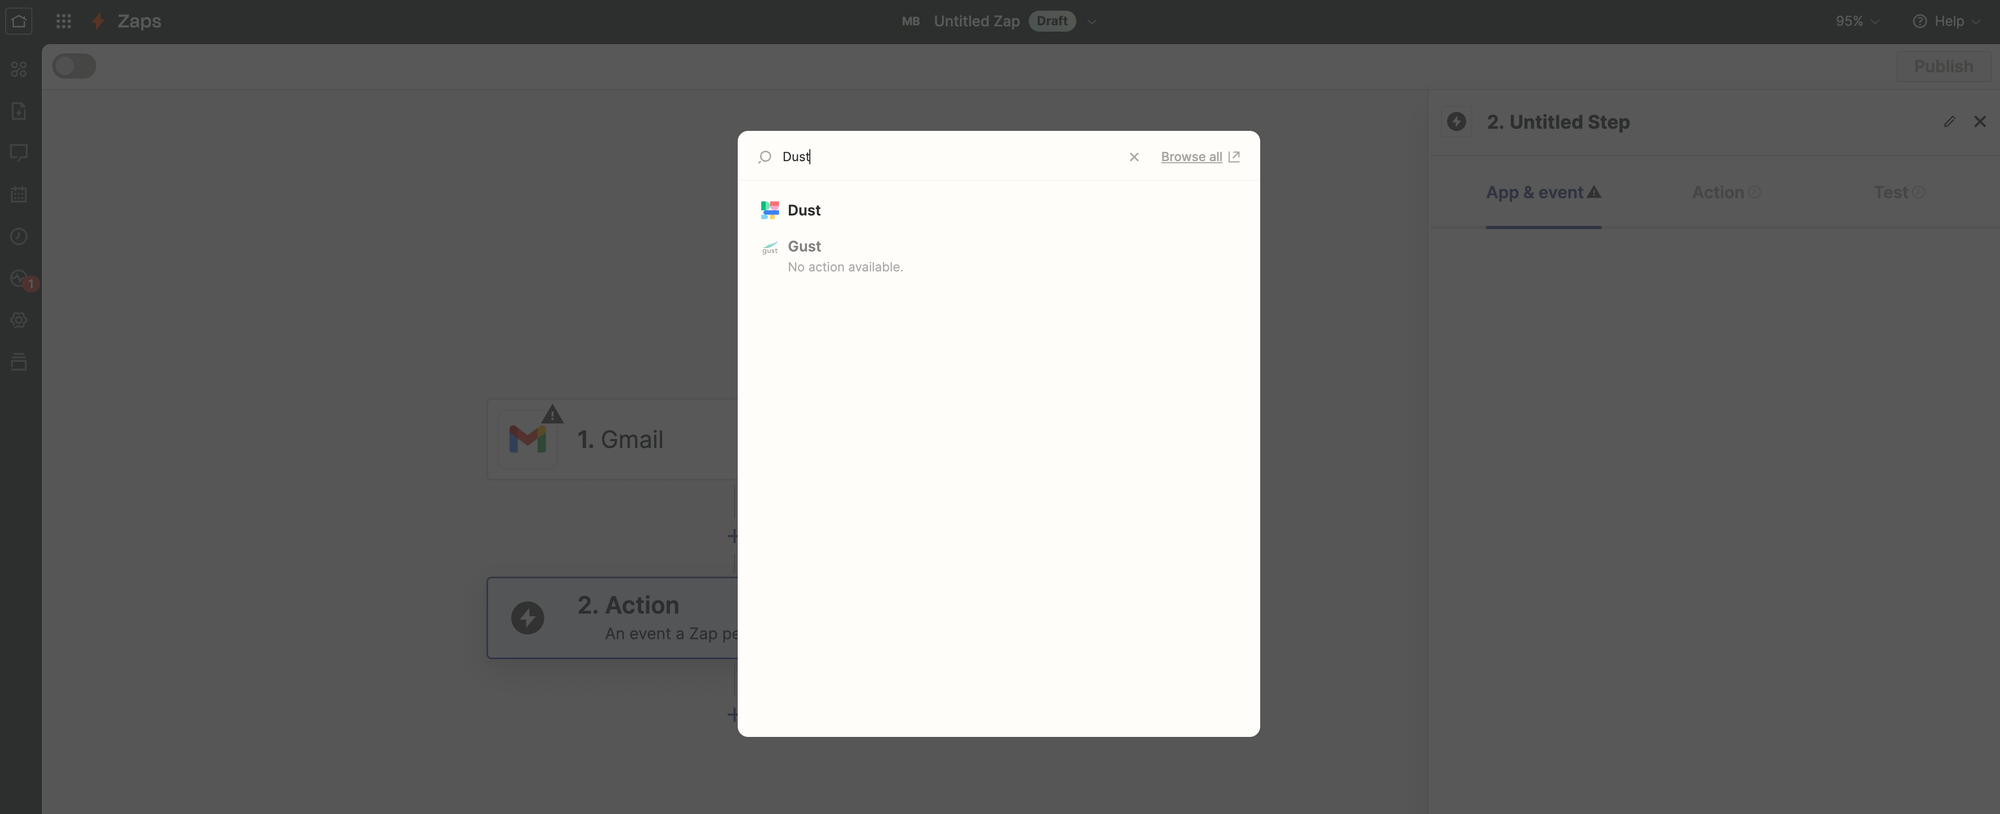
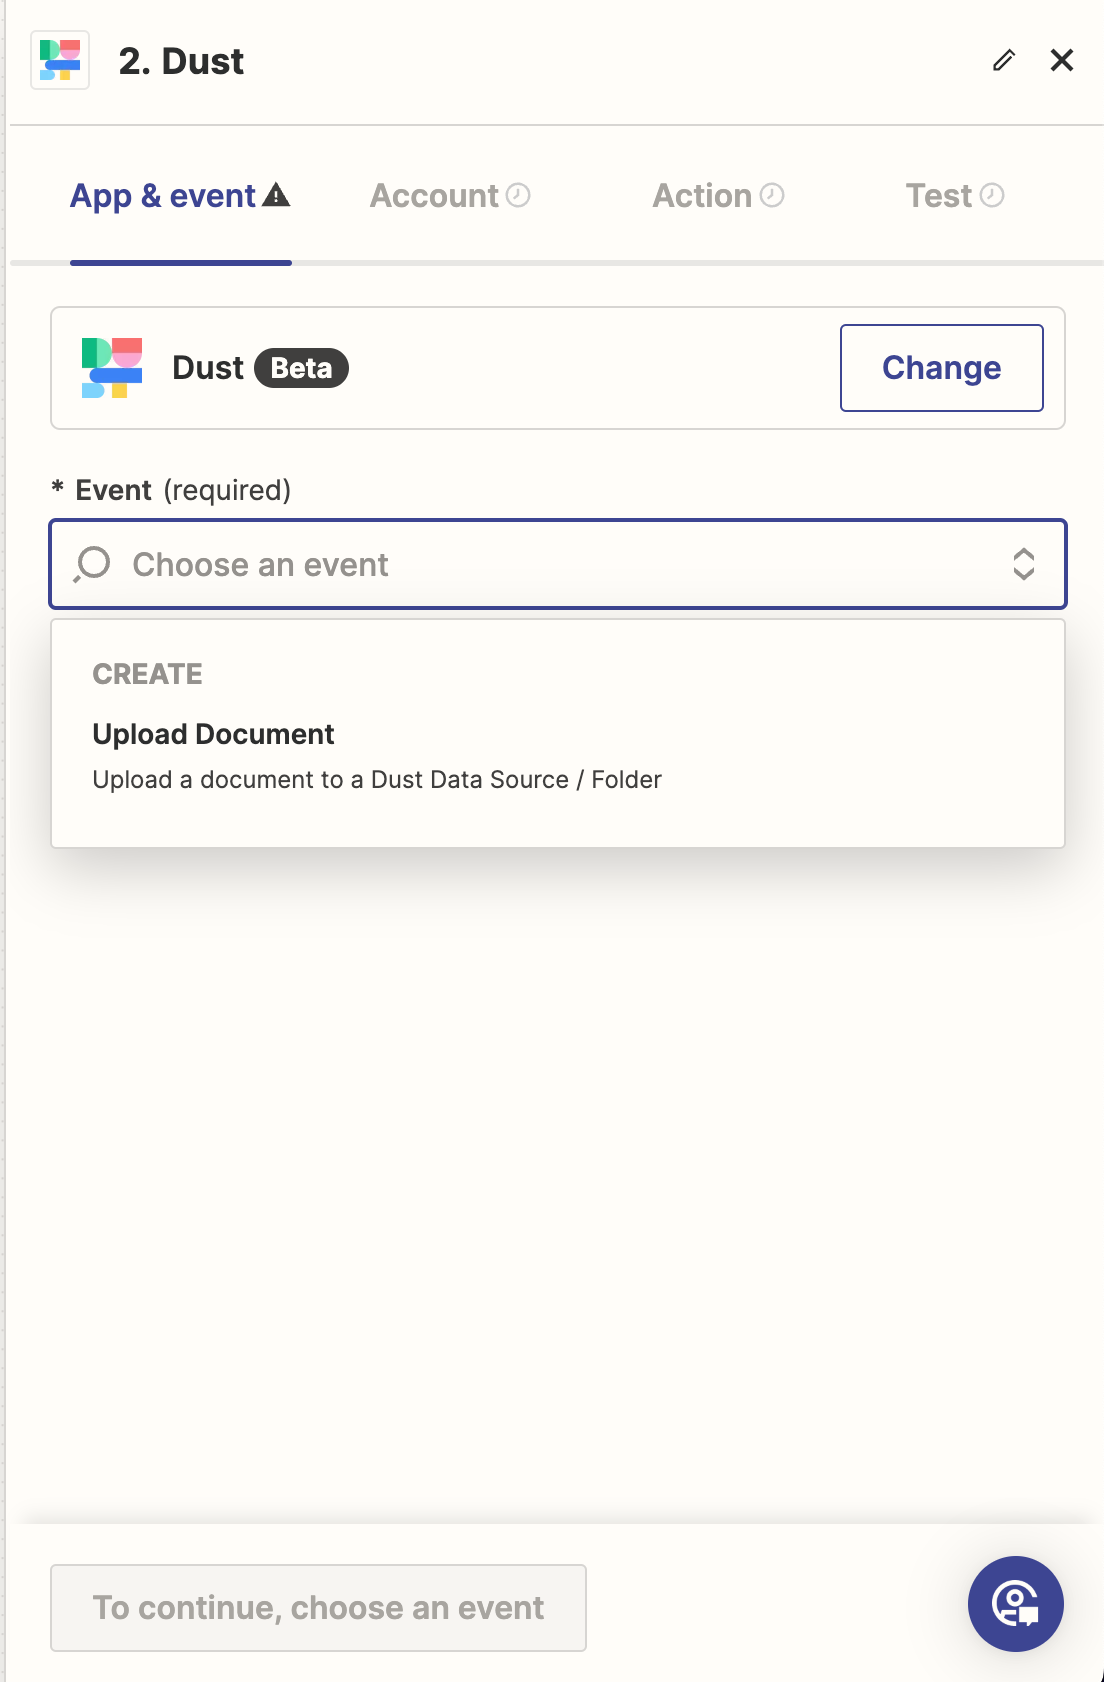
- Then in the
App & eventtab, select “Upload Document”:
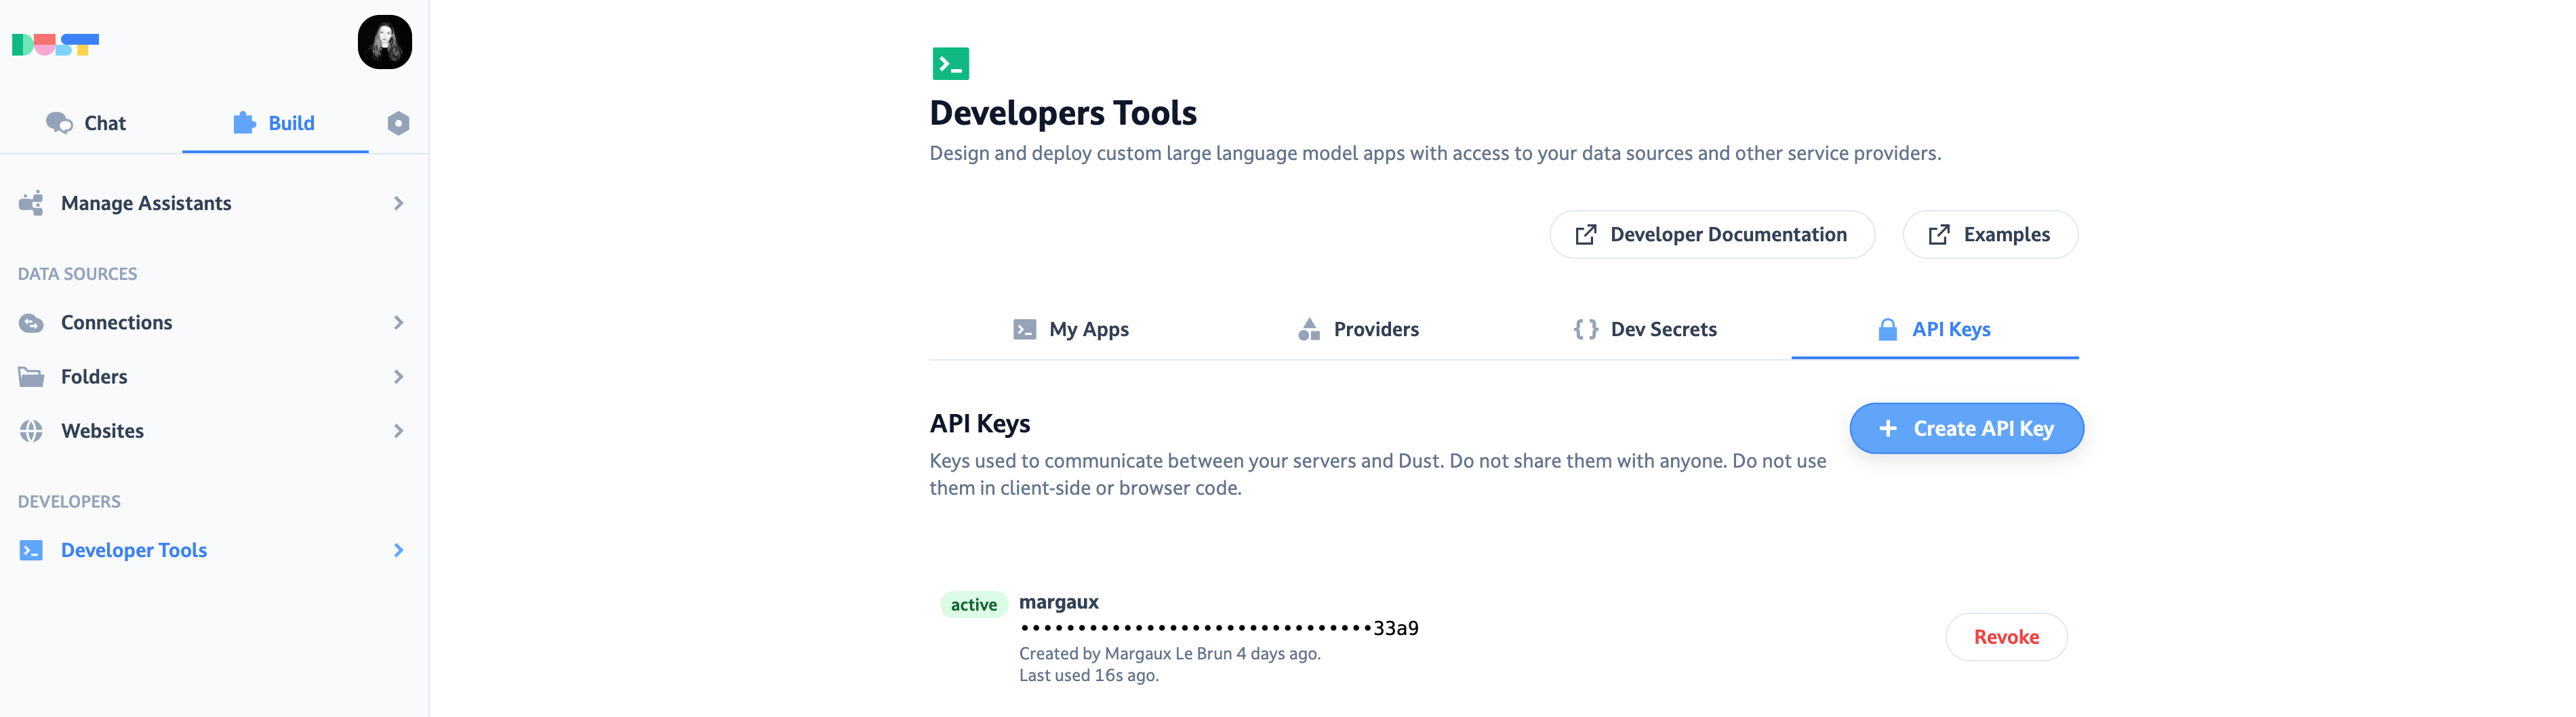
- In the
Accounttab, follow the instructions to connect Zapier with your Dust account: you will need your Workspace ID (which can be found in your Dust tab URL, right after dust.tt/w/), as well as your Dust API key, which can be found inAdmin > API Keys > Create an API Key
- In the
Actiontab, you’ll be prompted to fill the following fields:- Folder name: put here the name of the folder you created in Step 1/
- Document ID: this will be the title of your document in the Dust Folder
- Document Content: put here the content you want to extract to Dust (this will be the content of your document in the Dust Folder)
5. Run the Tests, and Publish your Zap
You’re all set!
Once launched, new content in the Trigger will automatically be loaded as a new text file in your Folder. You can now select it as a Data Source in the Actions & Data Sources tab when you create or edit an agent.