This guide will help you get started with step-by-step instructions to build your first Dust app.
Dust Apps are deprecated. Only Dust Apps that were created before October 2025 are accessible to users. The creation of new Dust Apps is now deactivated.
Model providers
Dust apps rely on model providers to interact with large language models. You can setup your first model provider by clicking on the Providers pane and setting up the OpenAI provider (you can find the Providers pane on your main account page by clicking on the Dust logo when signed-in). You'll need to create an account at OpenAI and retrieve your API key.
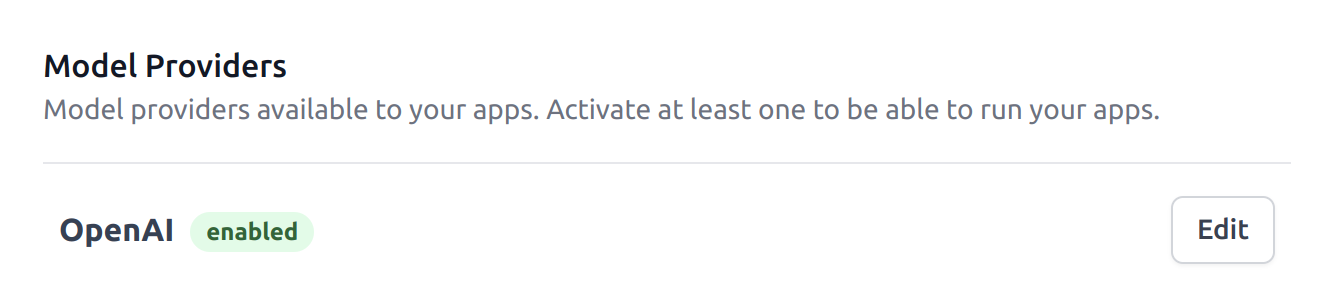
Once you have input a valid API key, you should see the OpenAI provider as enabled in theProviders panel.
Whenever your app interacts with an OpenAI model, it'll use the API key you provided to do so. The costs of running these models will be reported on OpenAI's dashboard.
Creating a new app
You can now create a new app by clicking on New App from the Spaces tab > Company Data (or another Space) > Apps. You'll need to provide the following information:
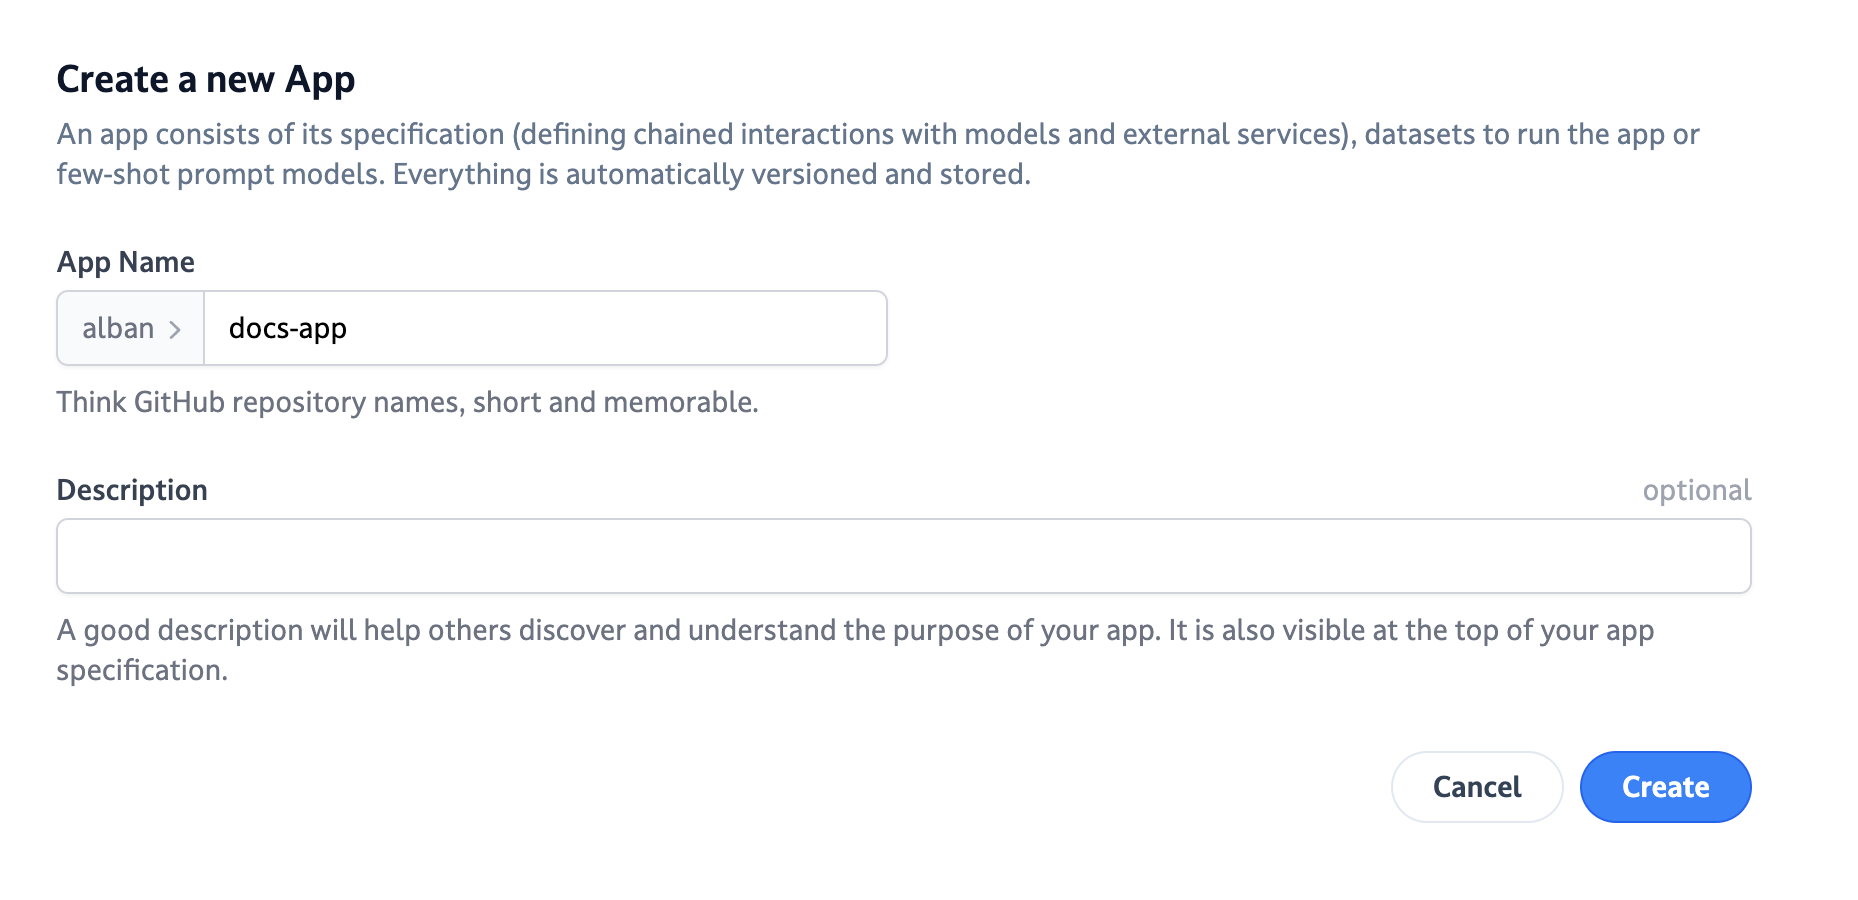
The Dust app creation panel. Thename should be short and memorable, lowercase without spaces.
Once you click on Create you are redirected to your new Dust app's view. The default panel is the Specification panel where you will build your app by adding blocks. The Datasets panel lets you manage datasets (for inputs or few-shot examples). The Run button is disabled at first as you haven't added any block to your app yet.
First block and first dataset
You are ready to add your first block. Click on + Block and add an input block. The input block appears in your app specification view.
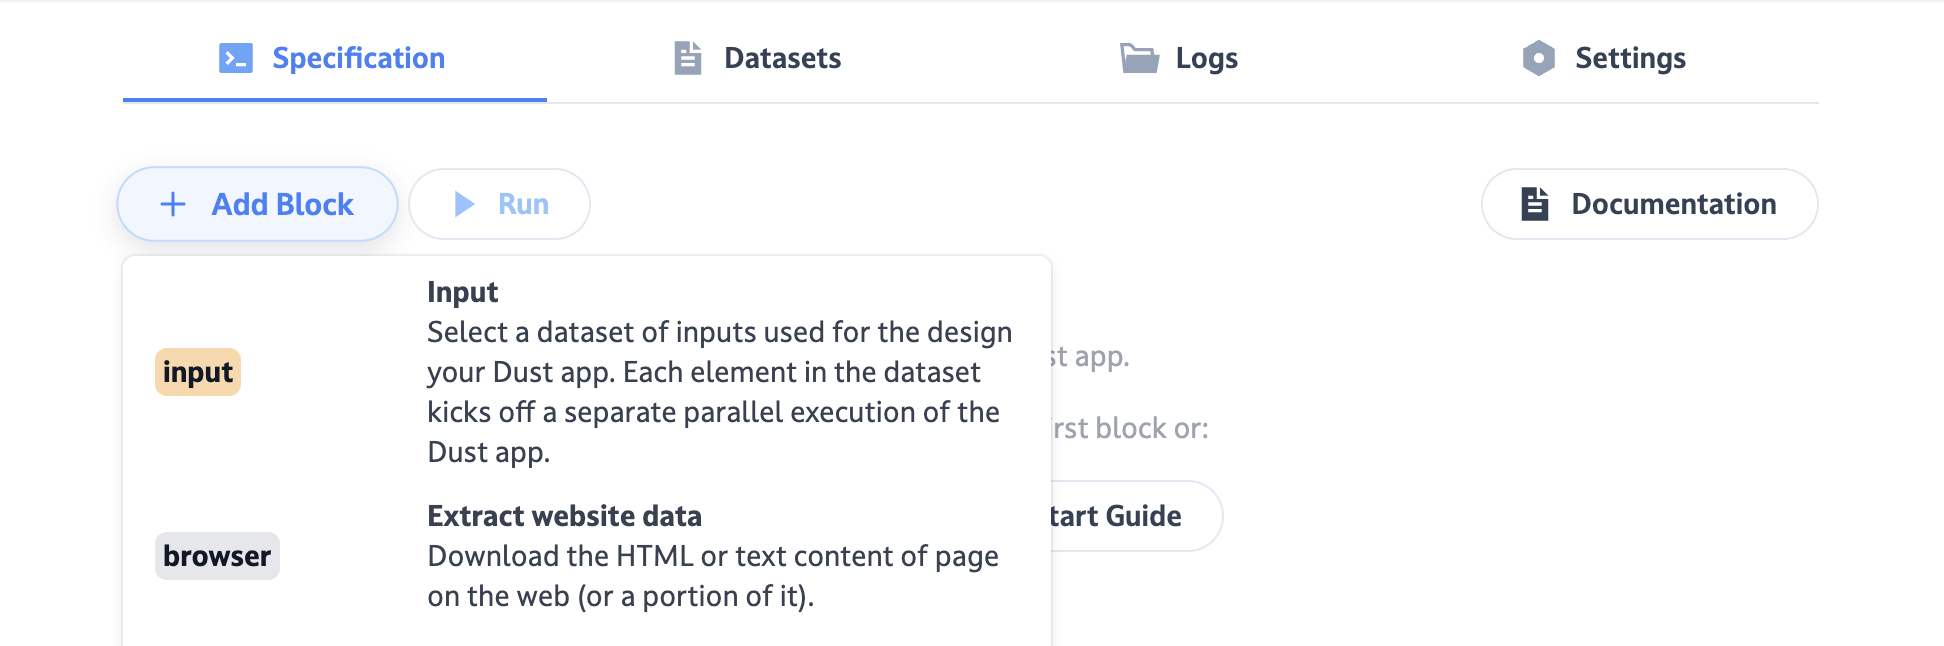
The input block needs to get attached to a dataset. Each time it will be executed, it'll fork your app execution on each element of the dataset to enable you to design your app against multiple examples to avoid overfitting your design to one input. You can learn more about how the input block works in the Developer Platform overview.
Click on Create Dataset inside the input block to create a new dataset. You are now redirected to the Datasets panel. And a new draft dataset with GAFAM companies data has been prepared but we won't use it for the input block.
Give the name you want to your dataset, you can leave the description empty. The Schema lets you control the schema of your dataset's entries. The Data section lets you edit, add, or remove elements to your dataset. Change the schema to use currentCompany with a type of string and currentCity with a type of string as well. We will ask our user to provider their current company and city to find them a new place to work. Fill a few entries in the "Data" sections, these are the example entries that will be used for testing during the app design.
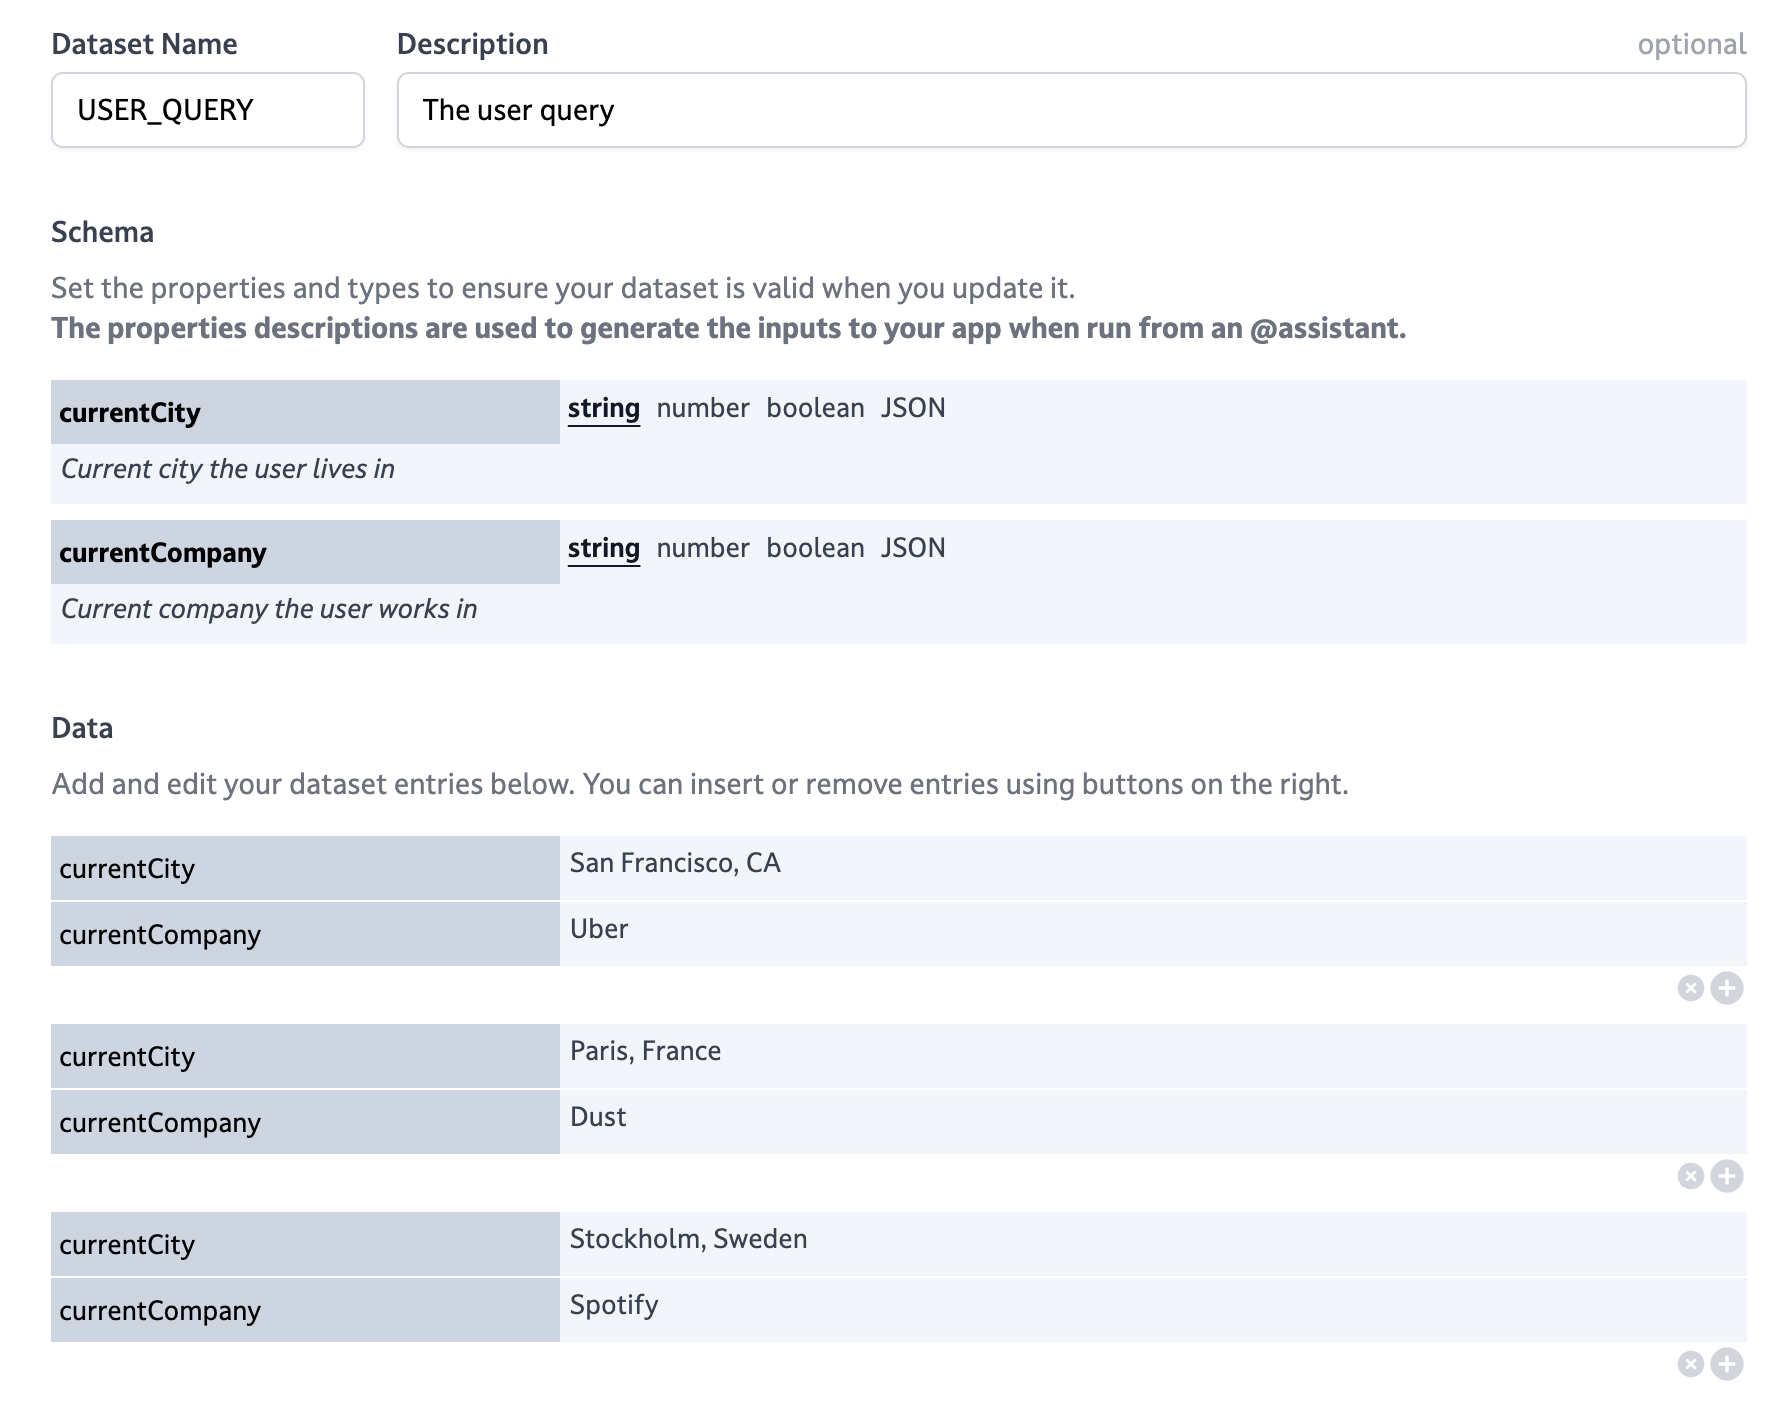
This is the expected state of your dataset for this example
You can now return to your app's specification view and select the dataset you created from the input block dropdown.
About theinputblockThe
inputblock is a special block that is used to provide the initial input to your app. You can think of it as the entry point to your app, so when building your app the actual data in your dataset (not the schema, but the data) are mainly used to test your app. You can edit them between runs by clicking the "Edit" button next to the dataset name. Theinputblock will use your schema's descriptions to infer the right data when the app is run from an agent, or use the provided data when run from the API.
No JSON format in agents!JSON objects are not directly supported by agents when calling Dust apps as agent actions. This limitation is due to the difficulty in expressing the schema of custom JSON to the model for tool use.
If you are planning on calling your Dust app from an agent, do not use the "JSON" format in the input schema
It is time to run your app for the first time! Click Run and wait for the execution to complete.
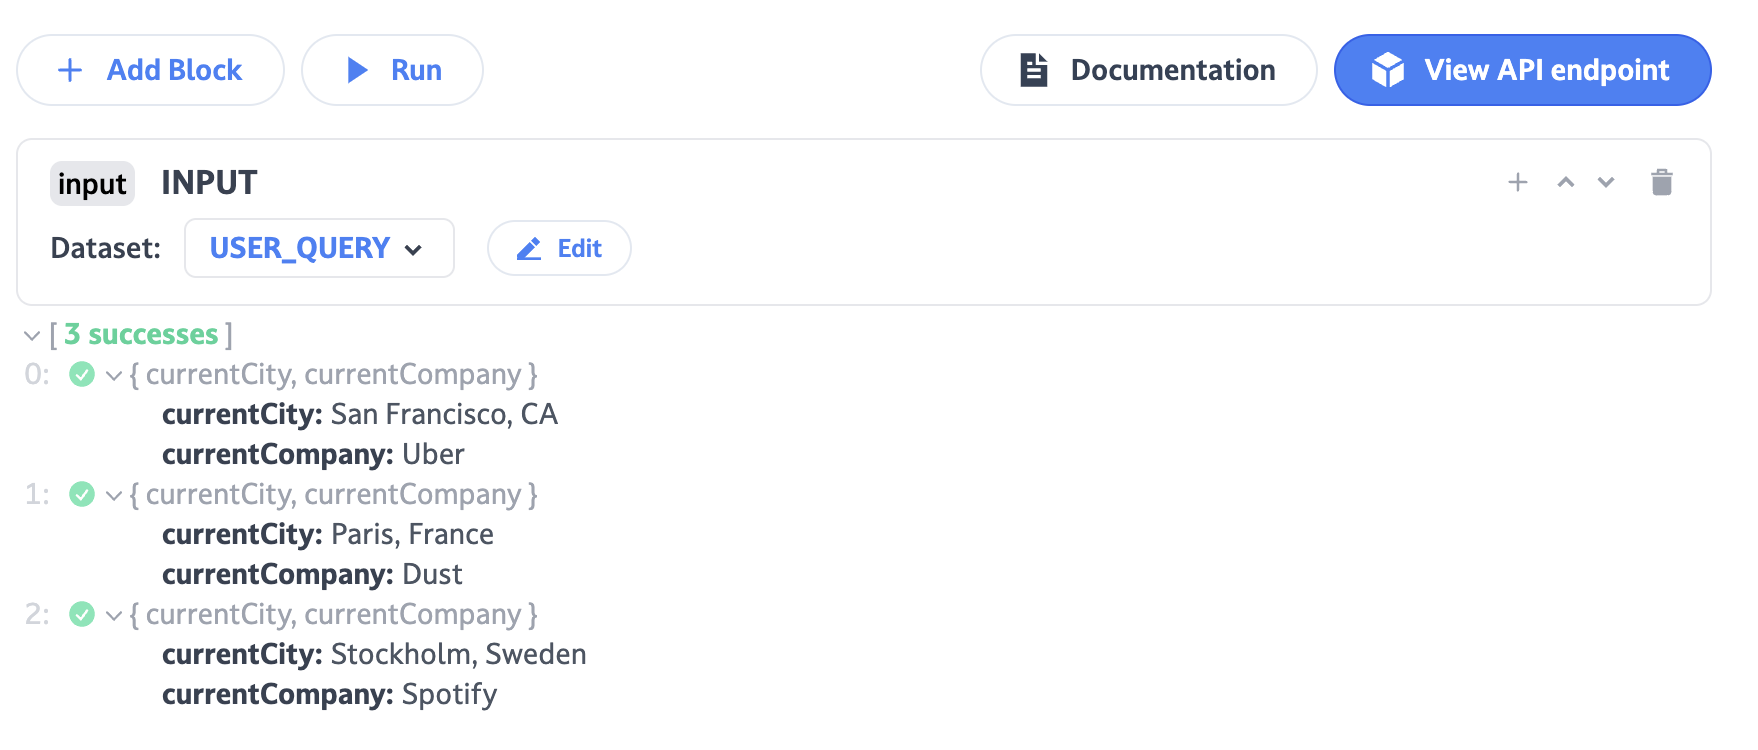
This is the expected state of your Dust app. Theinput block was run and triggered 3 parallel executions of your app because we had 3 data points in our dataset. For each execution you can see the output of the input block which corresponds to each element of the dataset it is associated with. The examples in your dataset might differ from the ones shown above.
Data blocks
Before we can add our first chat block, we'll add a data block to the app to store the few-shot examples used to prompt the model. Go to the Datasets panel and create a new dataset. Name it examples and save it directly, as the default data in it correspond to what we are trying to add (a list of company names, location and employees count). You can add more examples to the dataset if you want to test your app with more examples or download this file containing 20 examples and use the Import JSONL button at the bottom of the page to import it.
Return to the Specification panel and click the + Block button and add a data block. Similarly to the input block, the data block must be attached to a dataset. Click on the data block Select Dataset button and select examples.
About block namesNote that your blocks are automatically given a default name (EXAMPLES for your
datablock). You can change the name of your blocks by clicking on the block name in the specification view. Let's keep the default name for now so that we can refer to it in the next blocks.
Run your app again! You should be able to see the outputs of both the input block and the newly created data block.
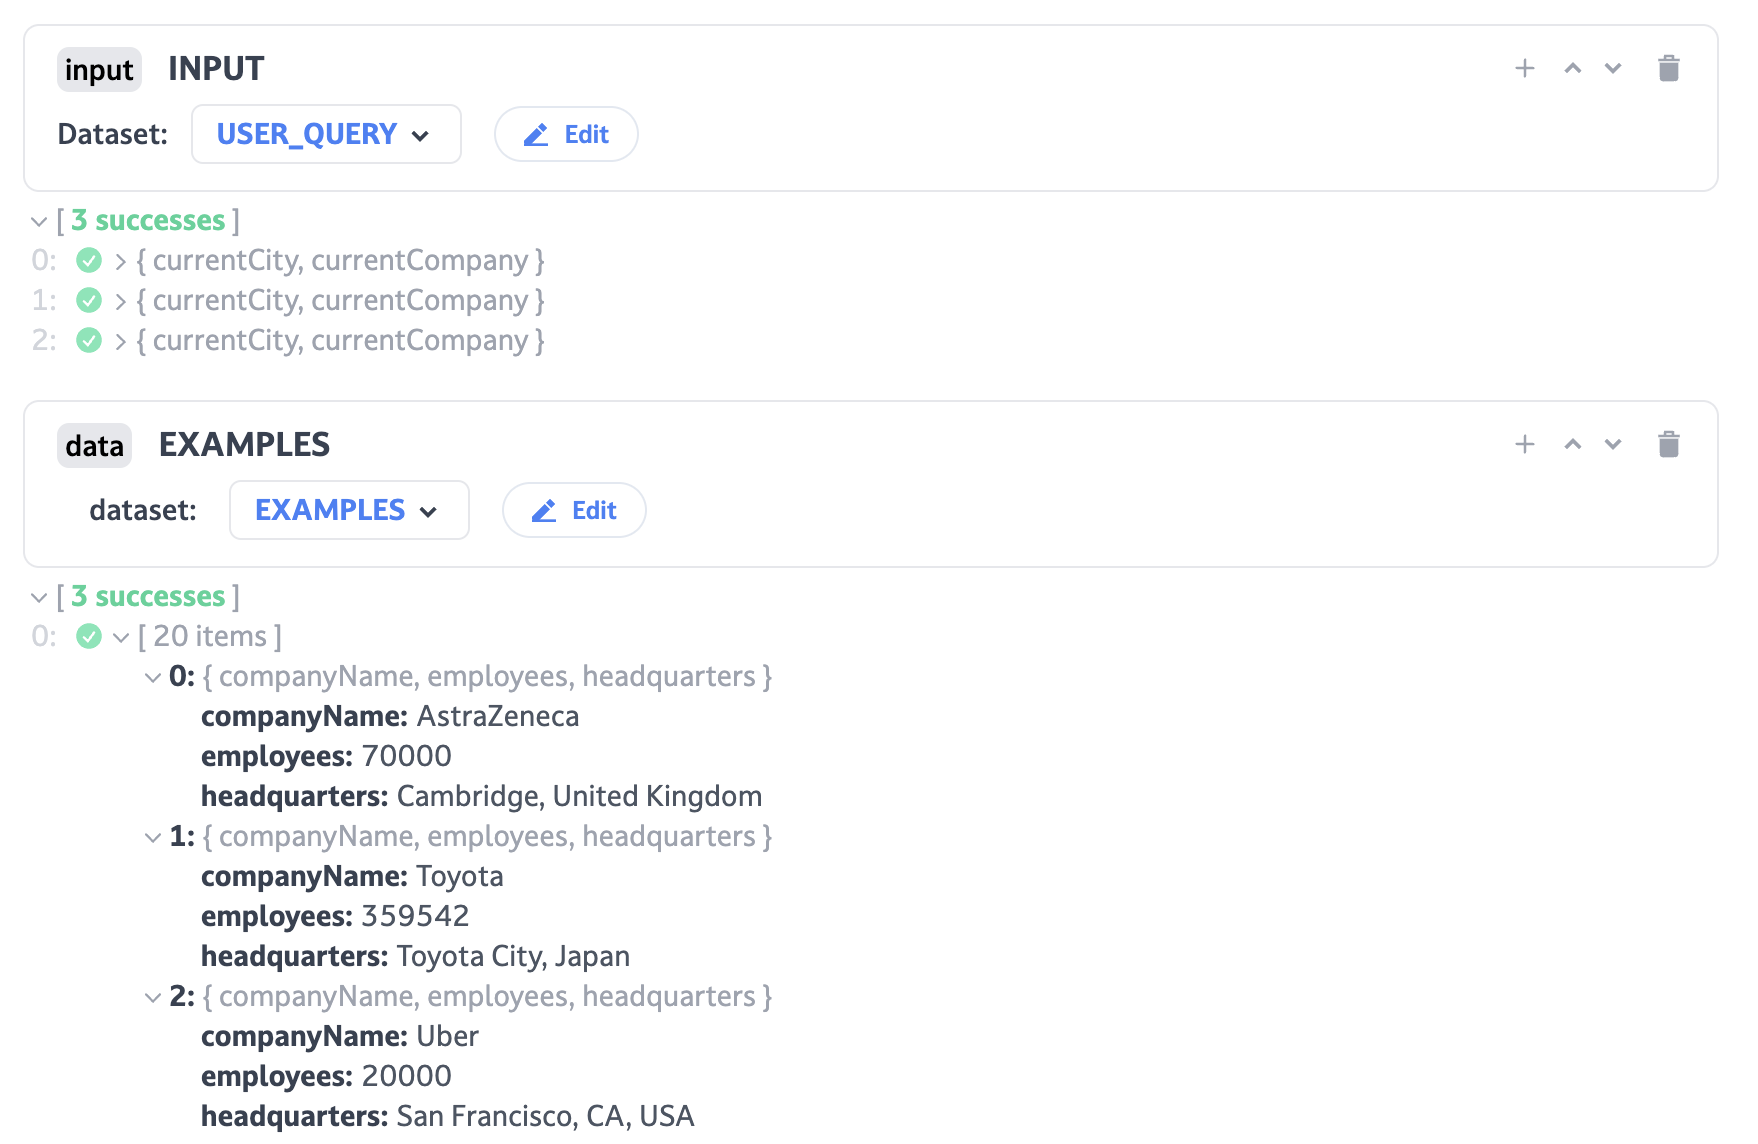
This is the expected state of your Dust app. As you can see thedata block has a different behaviour than the input block. For each execution stream it returns the entire dataset as an array. This dataset is the same for each execution stream and will be use to few-shot prompt the model in the next block. The examples in your datasets might differ from the ones shown above.
Chat (LLM) blocks
We're ready to interact with a Large Language Model. Add a chat block, select openai as provider and gpt-4o as model. You can leave the temperature, max_tokens and stop unchanged.
Now it's time to construct our prompt. The prompt field supports Tera templating to construct the prompt to the model from the outputs of the previously executed blocks. You can refer to the Chat block (LLM) documentation for more details on the templating system.
We will use the following prompt in the instructions text area to encode in the model (using few-shot prompting) the task of answering the question provided in the input block:
Instructions
{% for e in EXAMPLES %}
COMPANY NAME: {{e.companyName}}
LOCATION: {{e.headquarters}}
EMPLOYEES COUNT: {{e.employees}}
{% endfor %}
Message
_fun = (env) => {
  return [{ role: "user", content: `My current city is ${env.state.INPUT.currentCity} \
  and my current company is ${env.state.INPUT.currentCompany} \
  Using the examples provided which company should I work for? \
  Make sure it is not my current company, that the headquarters are in my continent \
  and be aware that I prefer smaller companies.`}];
}
As the chat block will be executed, it will receive as prompt the result of executing the template above, which should consists in:
COMPANY NAME: AstraZeneca
LOCATION: 70000
EMPLOYEES COUNT: Vevey, Switzerland
COMPANY NAME: Toyota
LOCATION: 359542
EMPLOYEES COUNT: Toyota City, Japan
[...]
This is called few-shot prompting, by showing a few valid examples, we encode the task in the model. We finish the prompt with just the question from the input we're working on. As the model will try to answer the prompt, it should naturally try to answer the question with a valid answer.
You can now run your app. It will be a bit slower this time as we'll have to wait for the model to generate an answer by calling into the OpenAI API.
If you run the unmodified app again, the automatic caching mechanism of the
chatblock will kick in and you won't spend any resources on OpenAI.
You can explore the outputs of the chat block. It contains a message object containing the role and content keys. The content key contains the model's answer. You can check that the values returned by the model are indeed correct.
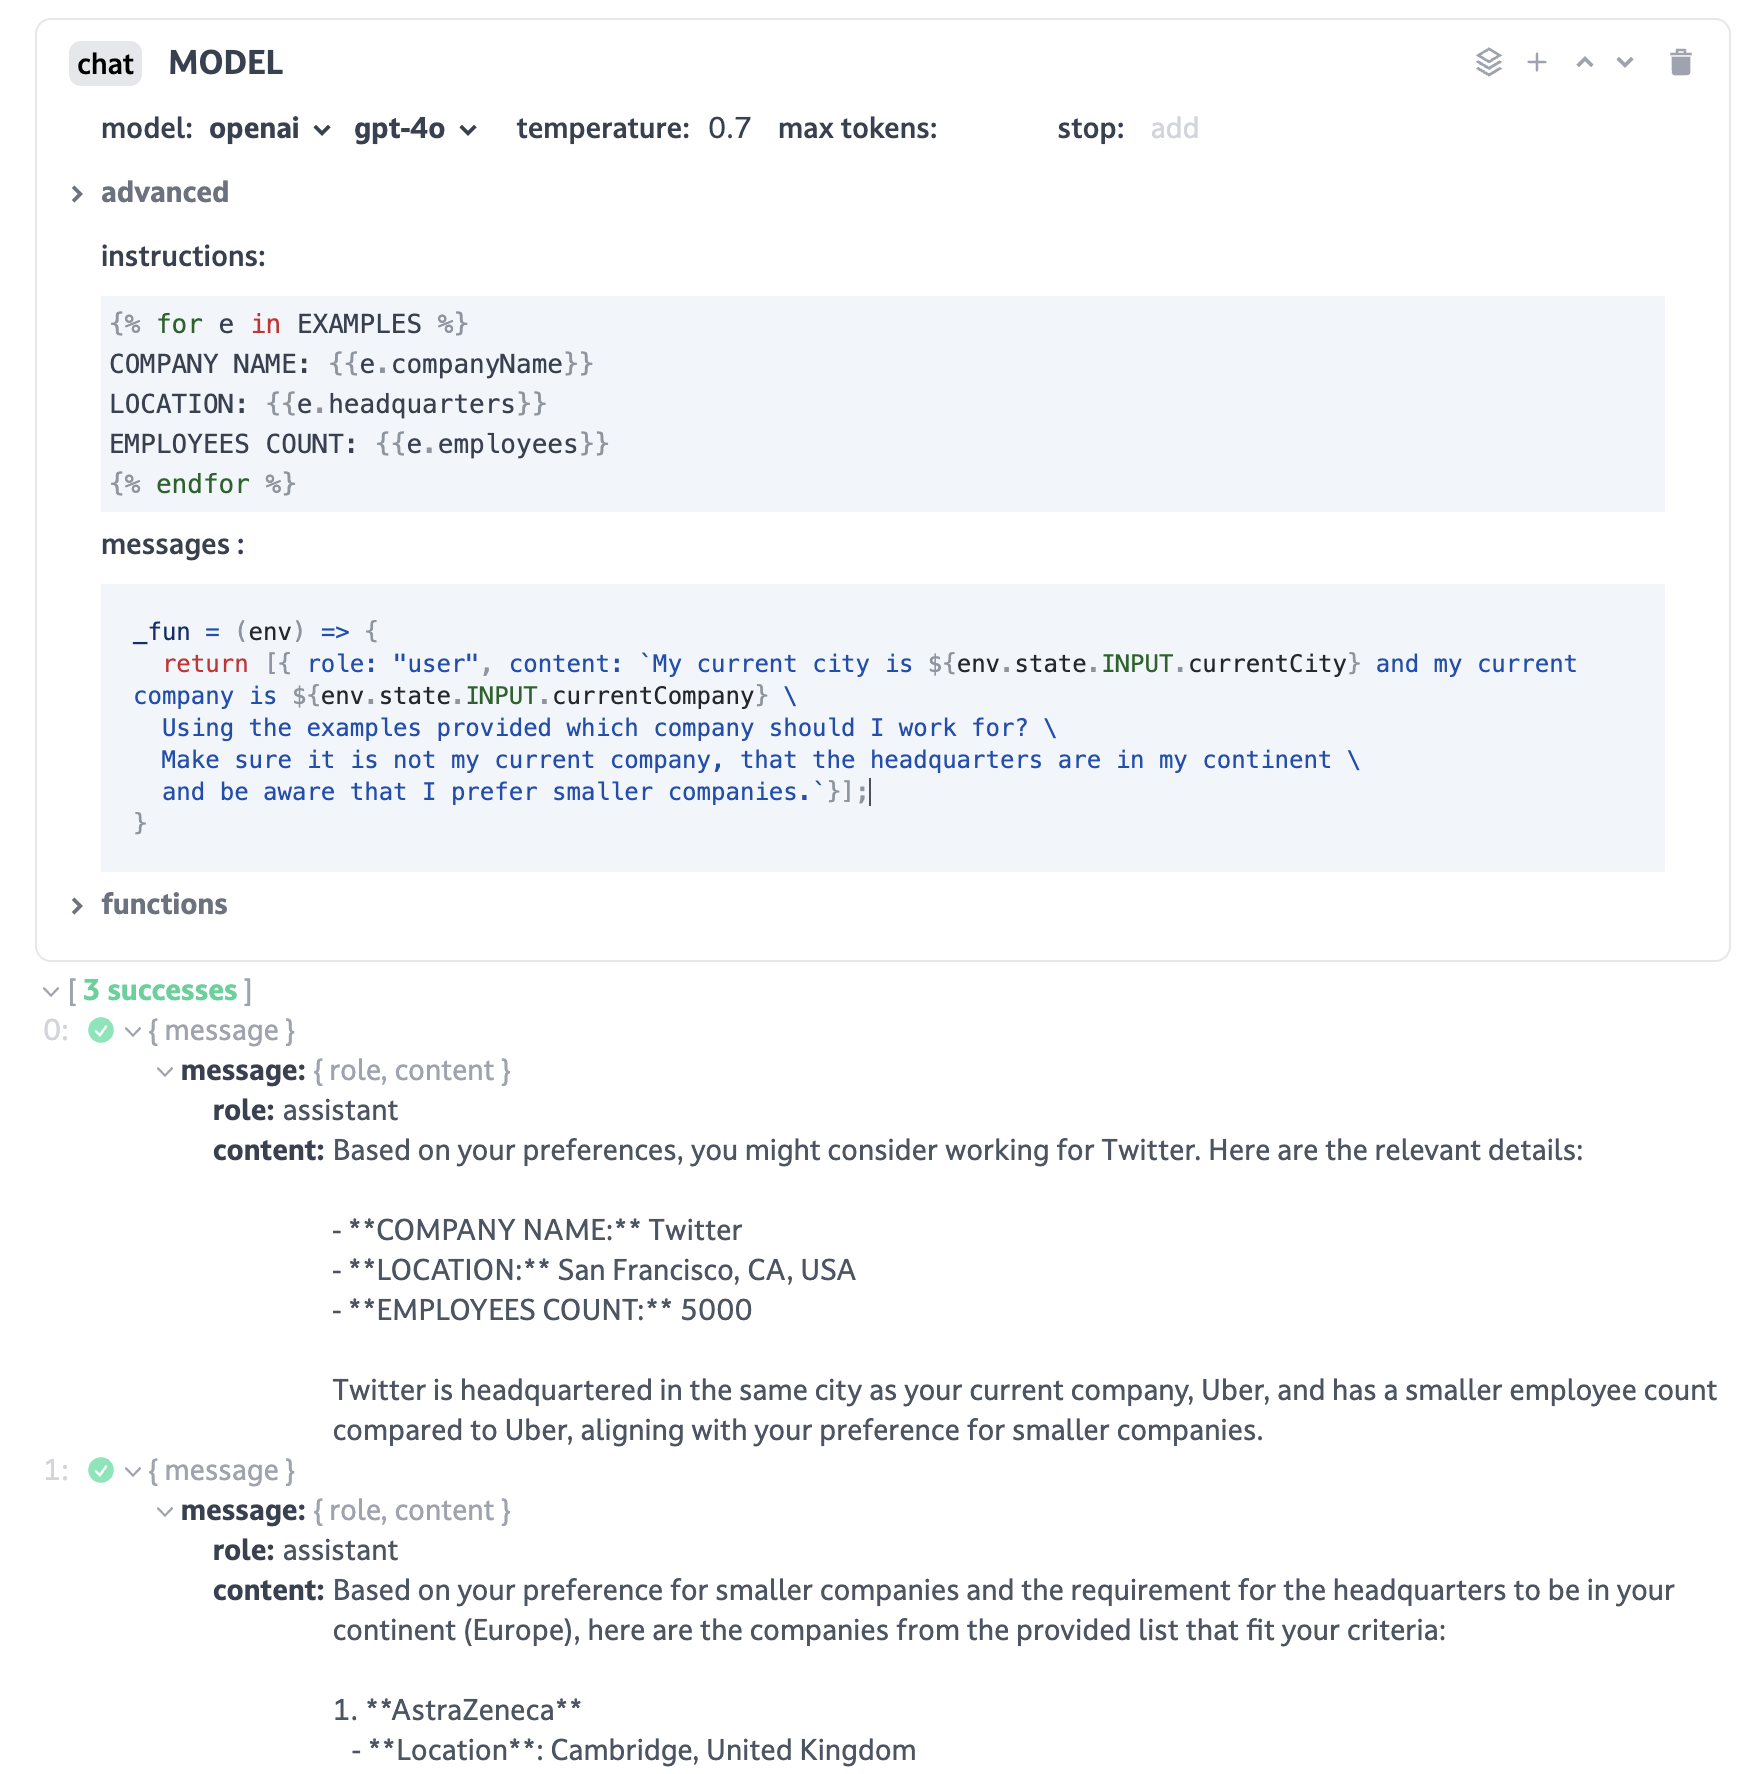
This is the expected configuration and state of thechat block after your final execution of your app. Since there are 3 example data inputs in our input block dataset, there are 3 parallel executions of the app and therefore 3 outputs returned by the chat block.
Final code block
We can finally add a code block to extract the answers from the model's completion. Name the code block FINAL. Code blocks' code parameter must define a Javascript _fun function accepting an env variable. The env variable enables you to access the output of the previous blocks. We'll use the following code:
_fun = (env) => {
  return {
    currentJob: [env.state.INPUT.currentCompany, env.state.INPUT.currentCity],
    nextJobAnswer: env.state.MODEL.message.content.trim(),
  };
};
We're simply echoing the input currentCompany and currentCity and returning the answer generated by the model by trimming its message content. You can now run your app and explore the 3 executions' final outputs to check that all answers are correct.
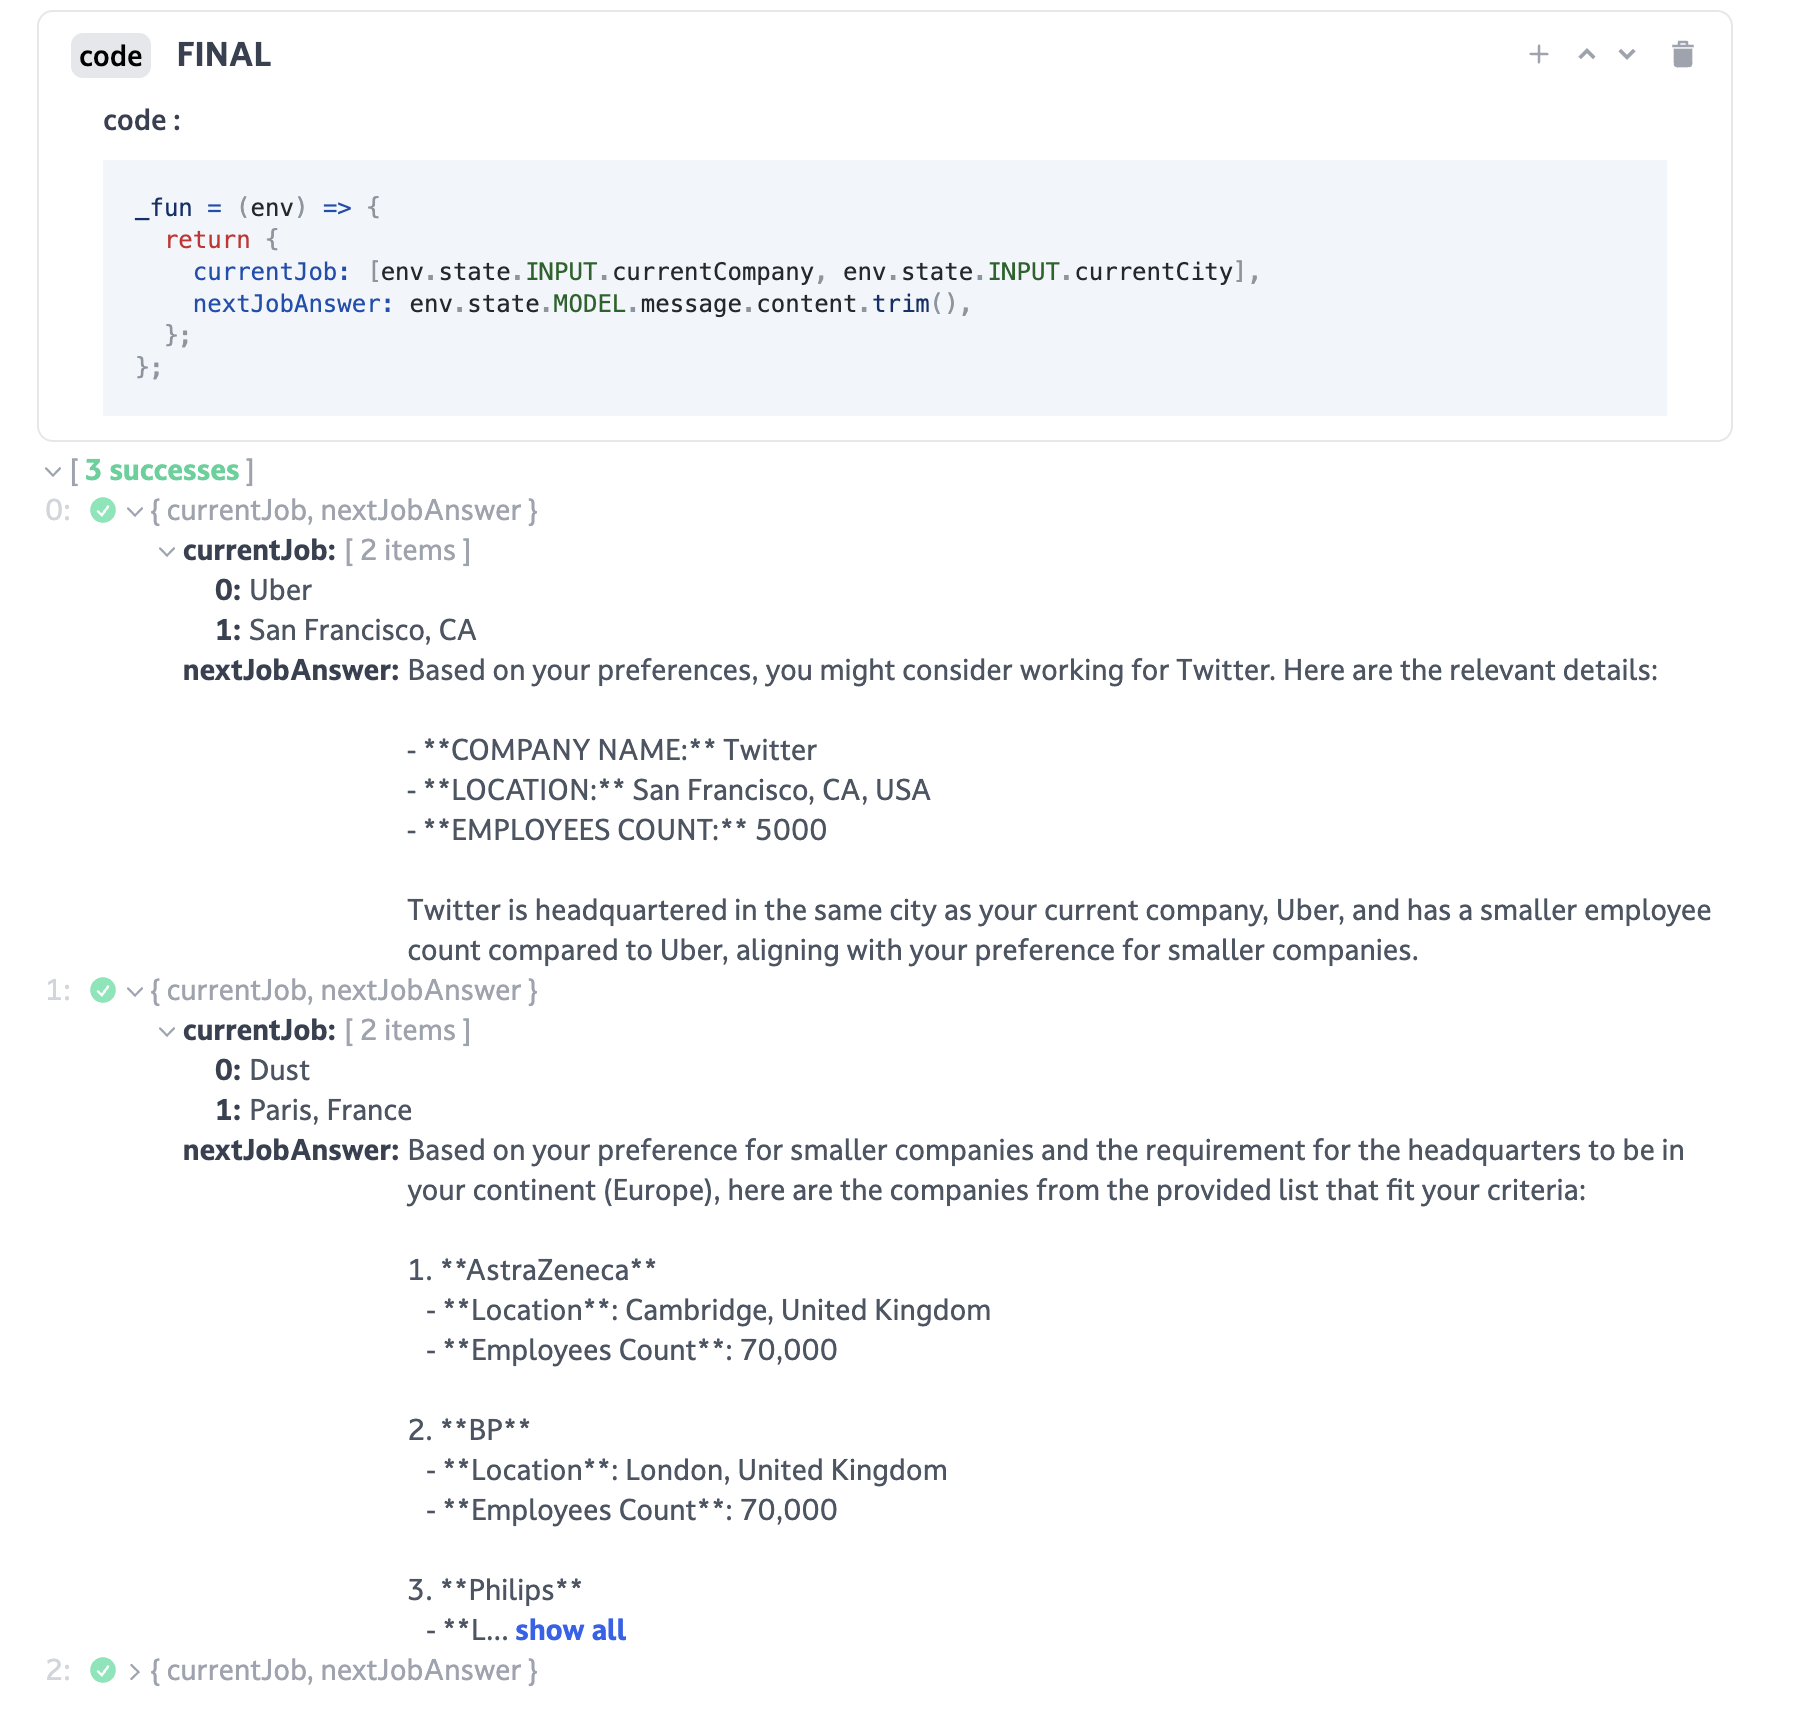
This is the expected output of the final block, echoing the intput question
and the generated answer. The question may be different in your app.
Congrats on designing your first Dust app! You can inspect the different runs on your app in the
Logs panel and see the various iterations we went through as we built the app.
Advanced
Running your app by API
Congrats on designing your first app! You can now return to your profile by clicking the Dust logo
to create a new API key in the API Keys panel. Click Create new API Key, name it and
return to the Apps panel and finally to your app.
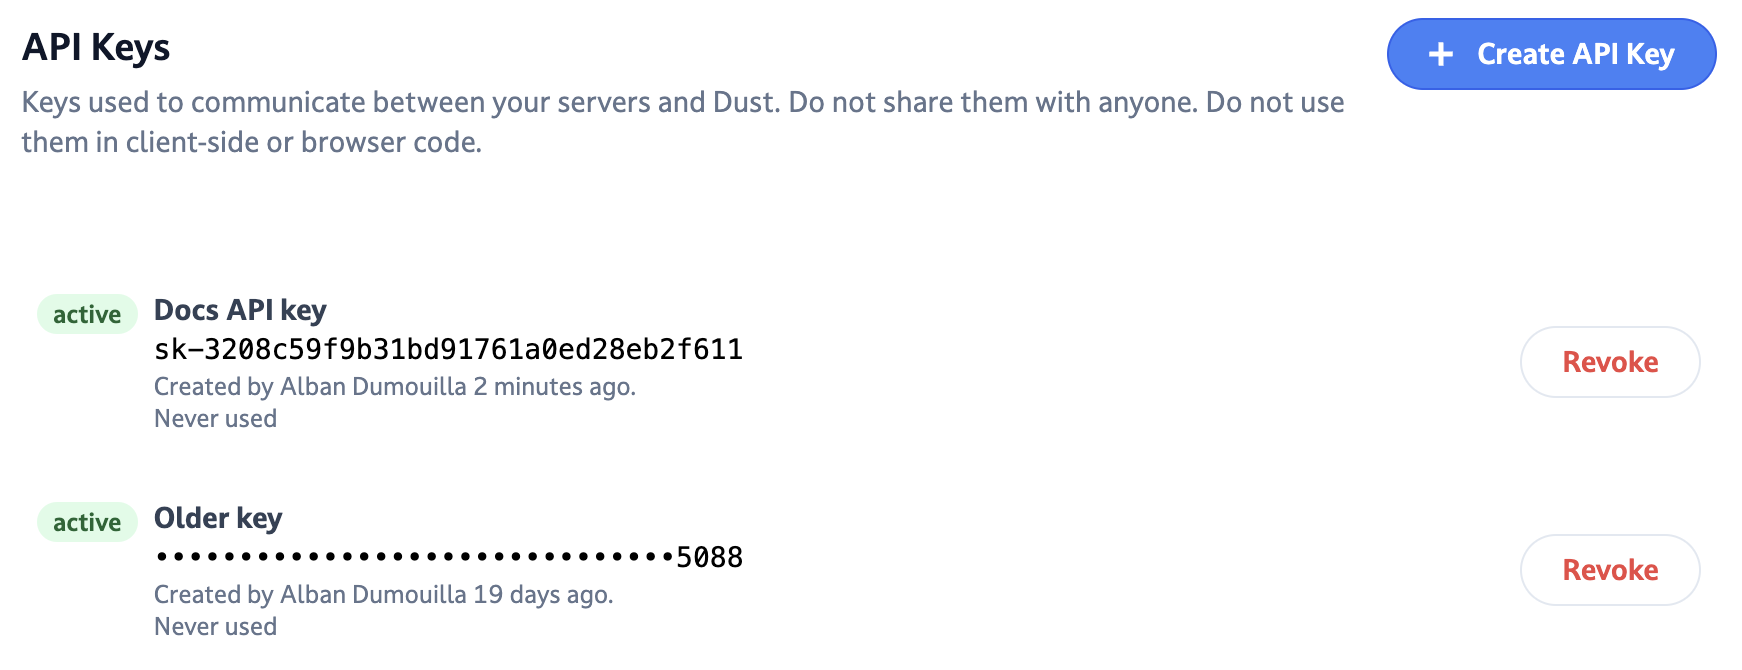
API keys stay visible 10 minutes after creation. After that, you won't be
able to see them again. And in case you want to try, the visible API Key on
the screenshot is fake ;)
Now return to the Specification panel in your app and click the View API endpoint button. Simply click the Copy button and copy the curl command in your favourite editor. You can leave the cURL command untouched and the inputs field in the body that your app expects: "inputs": [{ "currentCompany": "La Poste", "currentCity": "Paris; France"}]
API endpointAs you copy the curl command from the View API Endpoint modal, your newly created API
key is automatically inserted asAuthenticationheader. 10 minutes after
creation, the API key will be hidden and you will have to manually replace it
so save it somewhere!
You can now prefix your file with #!/bin/sh and save it as a .sh and execute it from your
terminal.
Congrats, you've executed your app by API call.
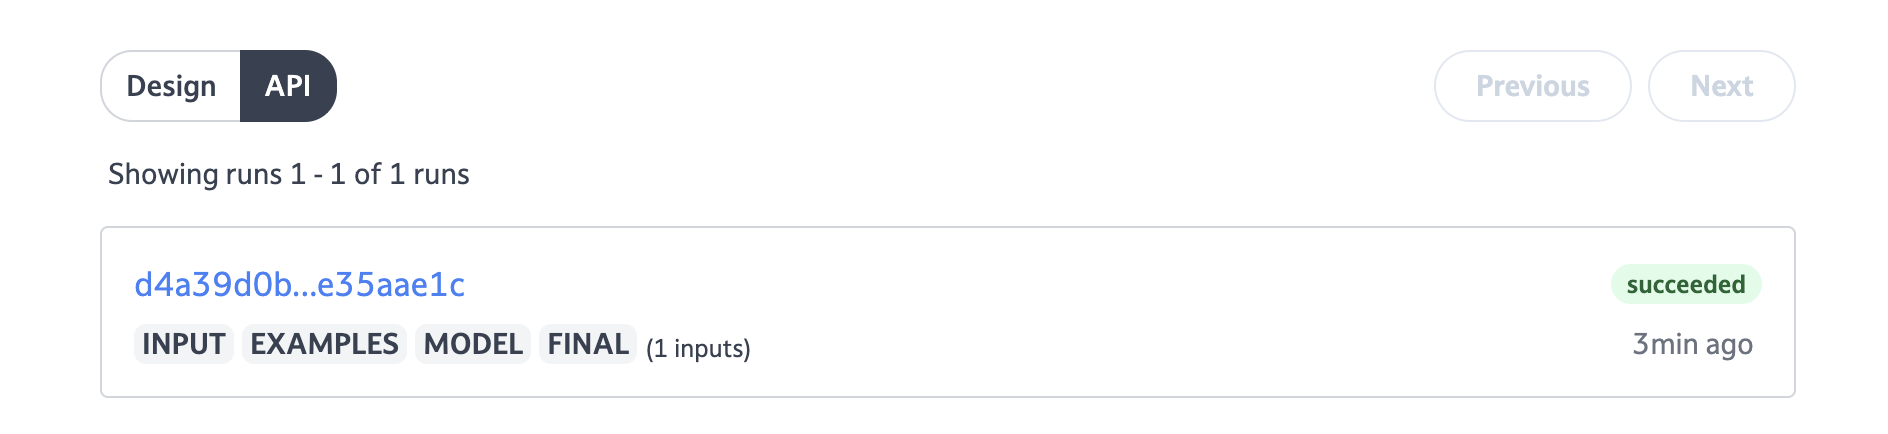
You can check the execution in the Logs panel under the API section.
Developer secrets
Dust Apps can use developer secrets to store sensitive information such as API keys or passwords. Developer secrets are stored encrypted and are only accessible to the app they are associated with. Currently, only the cURL block can use developer secrets to authenticate to external services.
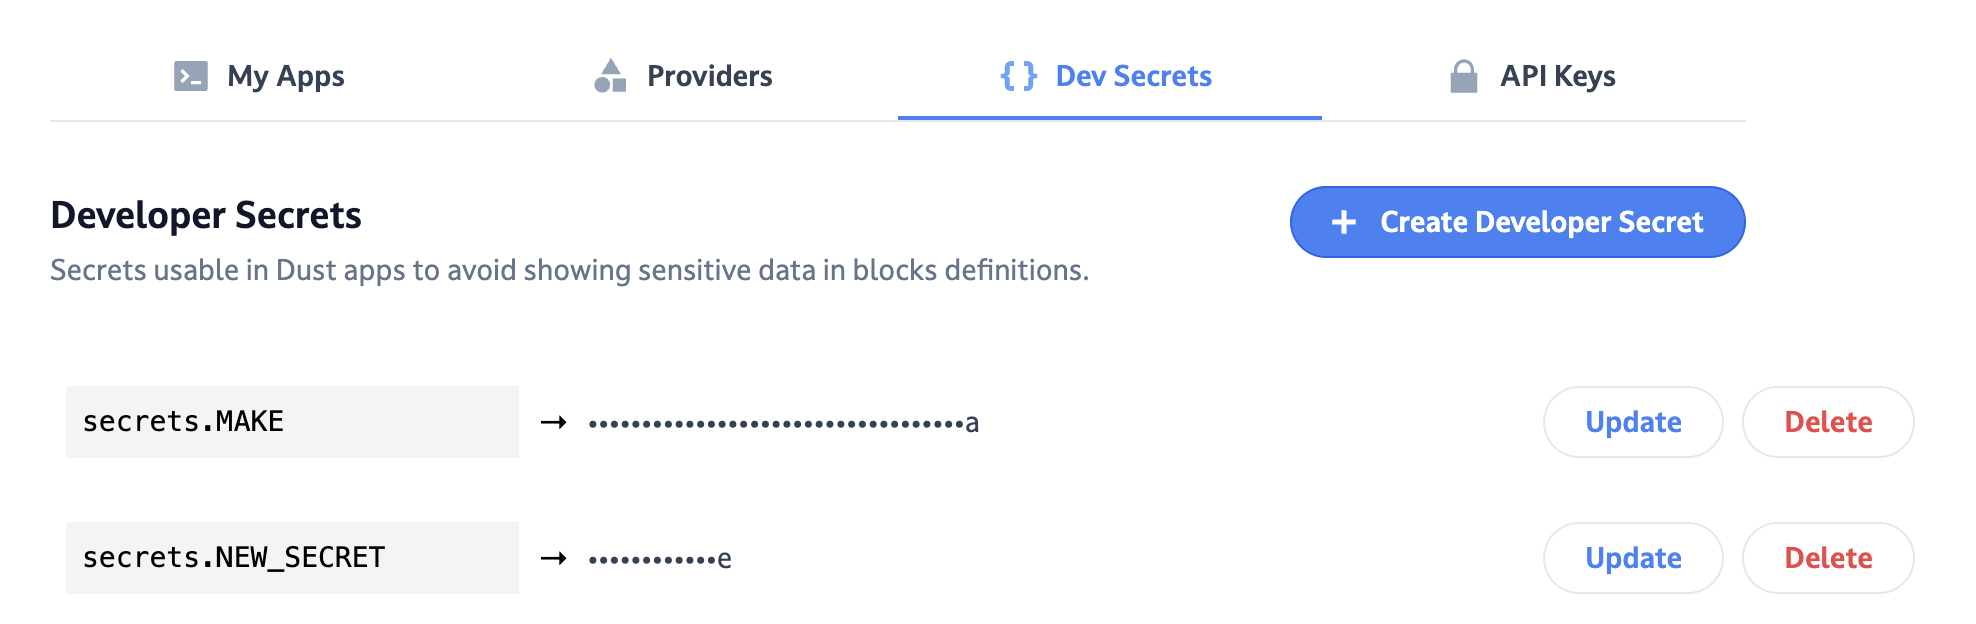
You can use developer secrets by referencing them in the cURL block configuration using one of two ways:
- By using the
{secrets.SECRET_NAME}variable in the URL input field - By using the
{env.secrets.SECRET_NAME}variable in the headers or body fields
Next steps
Great, you're now familiar with Dust app design. You can review the rest of the Core blocks look at our documented examples